I was going to put up my new crafts today (seen here) but instead I headed outside to make Carson a little surprise for when he woke up from his nap!
And he loves it!! He just jumped and jumped and jumped. I'm trying to make my backyard so that the boys can go and enjoy themselves outside after Tyler leaves. I put up a climber toy last week and now all I need is a picnic table and a sandbox. The only thing that could make it better is if Tyler could stick around to play on it with them...
Saturday, March 27, 2010
Friday, March 26, 2010
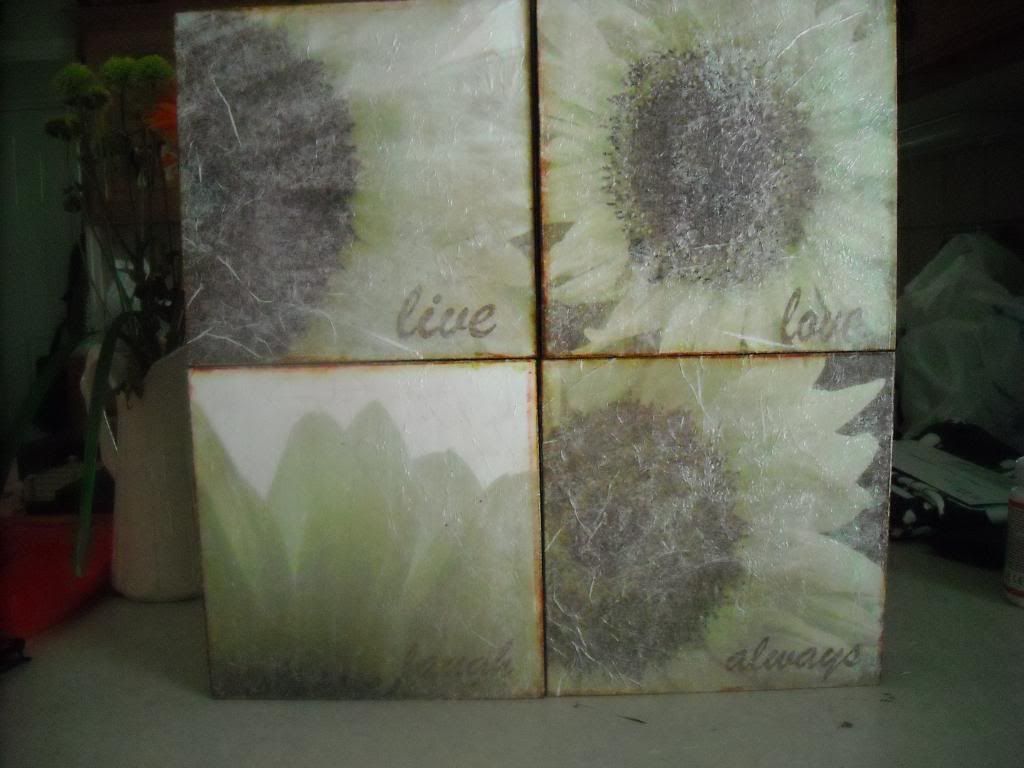
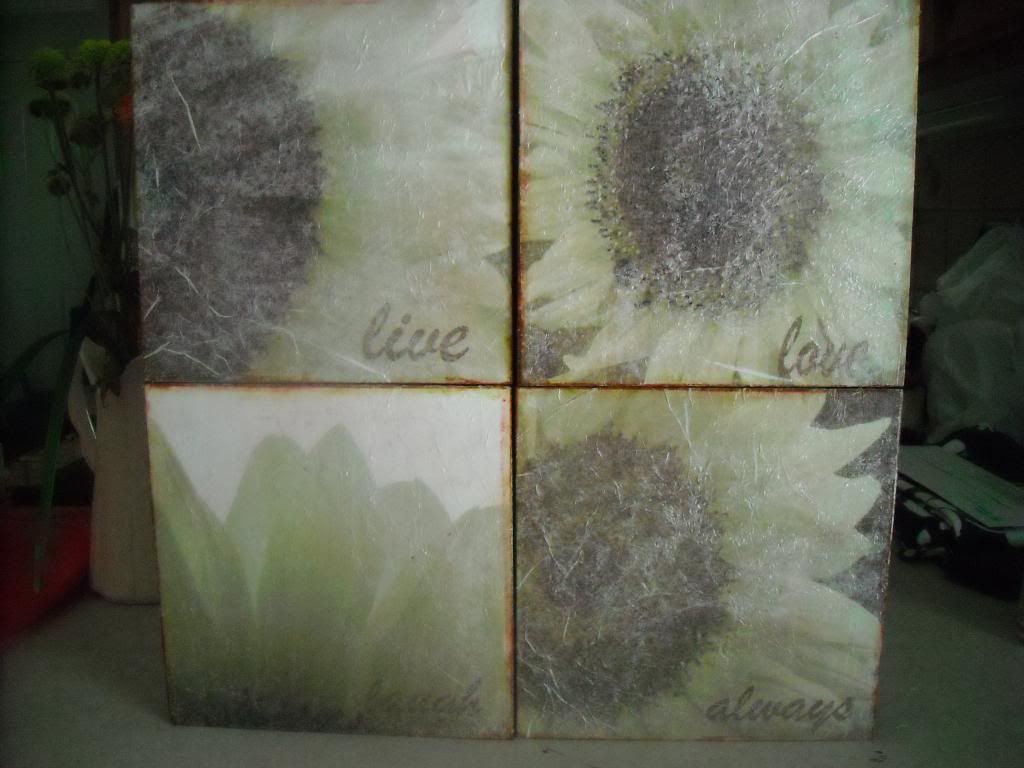
Tissue Paper Wall Boxes
Oh where has the time gone! Sorry it has been so long with no inspiration for you all. I had my wisdom teeth removed about a week and a half ago and have be knocked out in bed since. It wouldn't be a far reach to say that we didn't get along and I would take labor over having my wisdom teeth removed any day. Seriously. But I am back now and so excited to show you my...
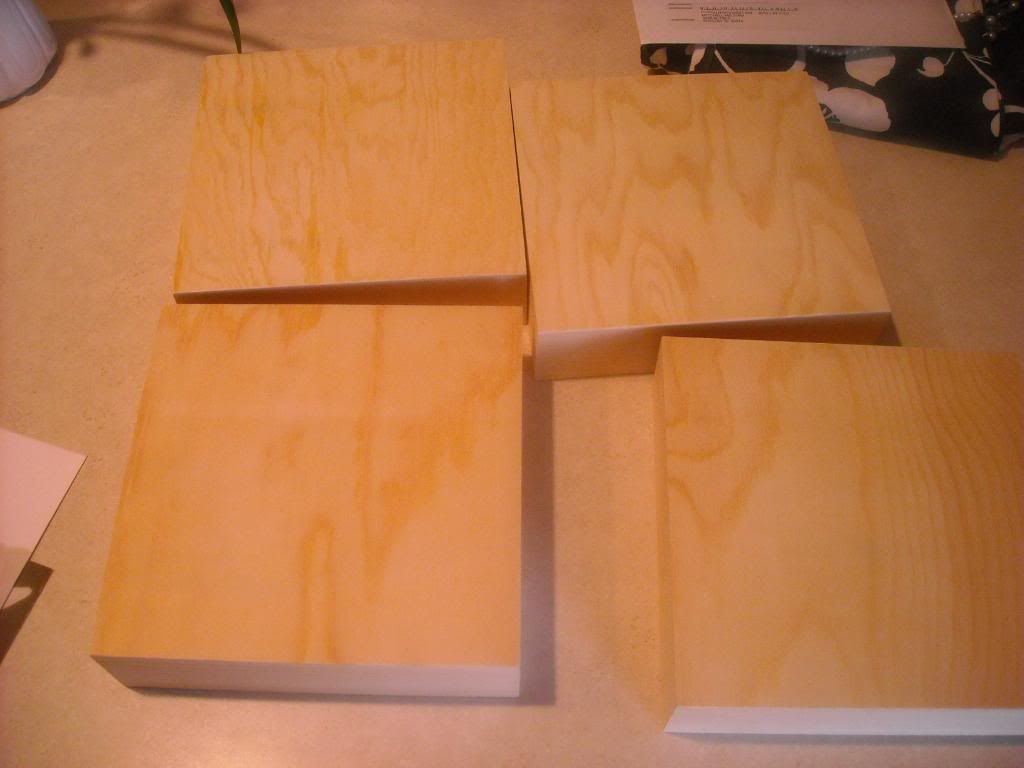
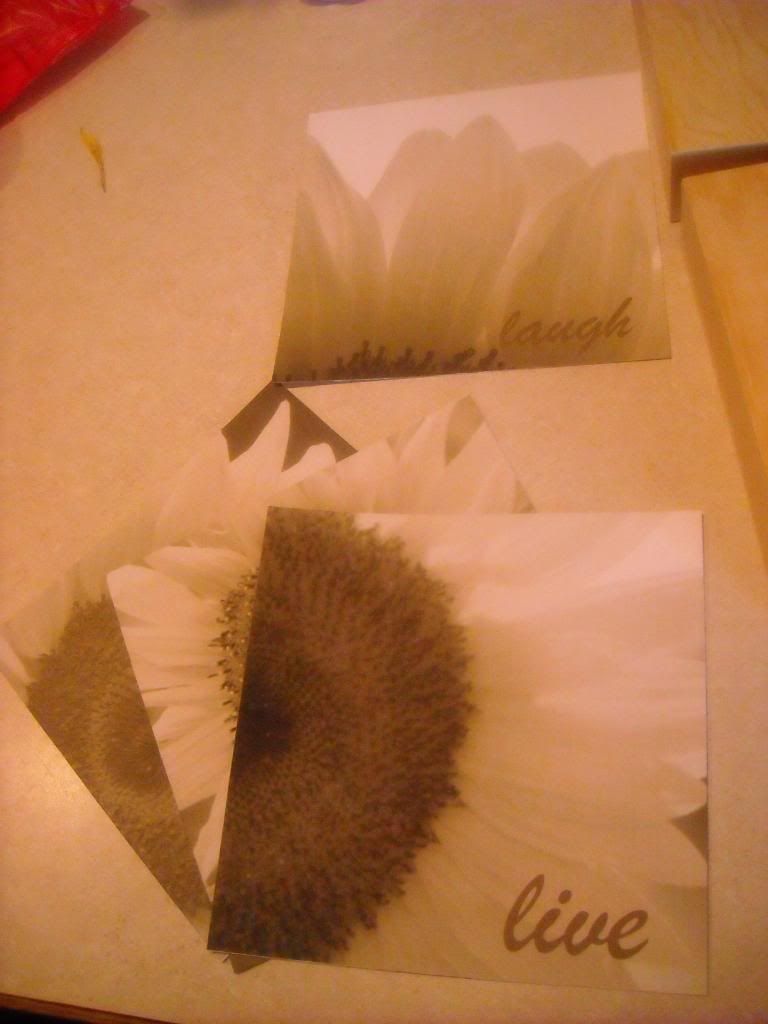
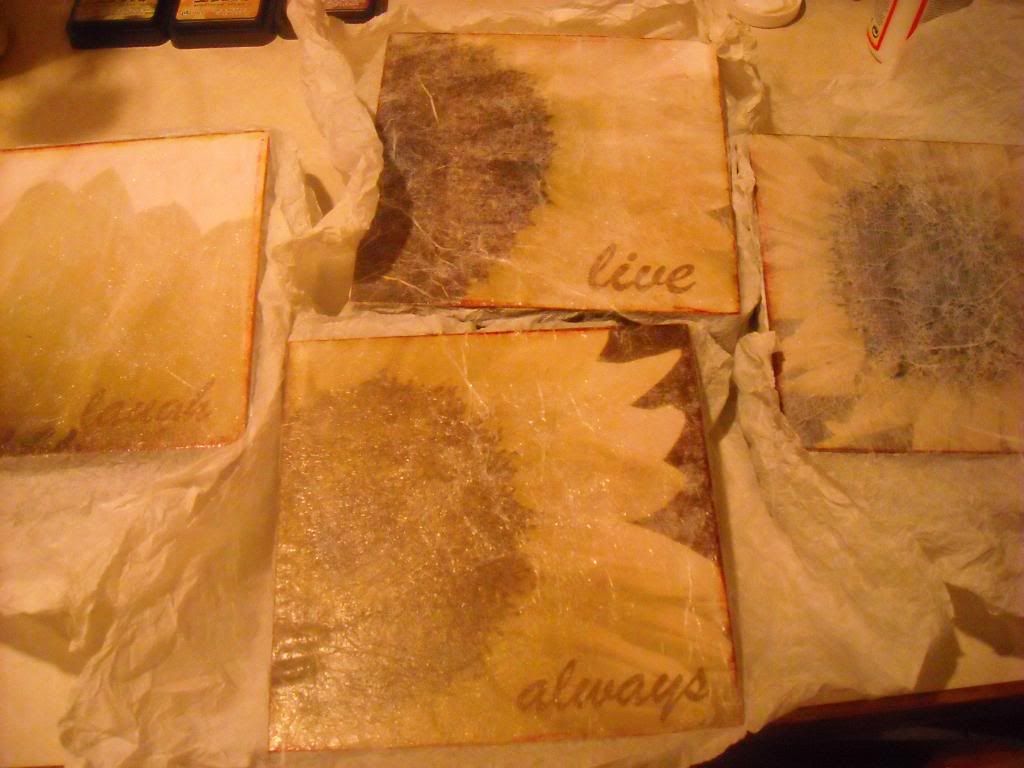
I am so in love with these and they were so super easy. First thing that you are going to need is 4 8X8" wooden wall boxes. I got mine at Porter's for $4.99. You can go bigger if you want but I figured these would be the easiest sizes to print pics for. You also need to find 4 flower pictures that you like. I googled mine so I don't have the link or anything for them but you can do the same and find pictures that you like. I then changed the color to a light sepia and added text to each picture (live, laugh, love, always) and put them in the bottom right of each picture, and then printed them onto cardstock before cutting the paper down to 8X8" squares.
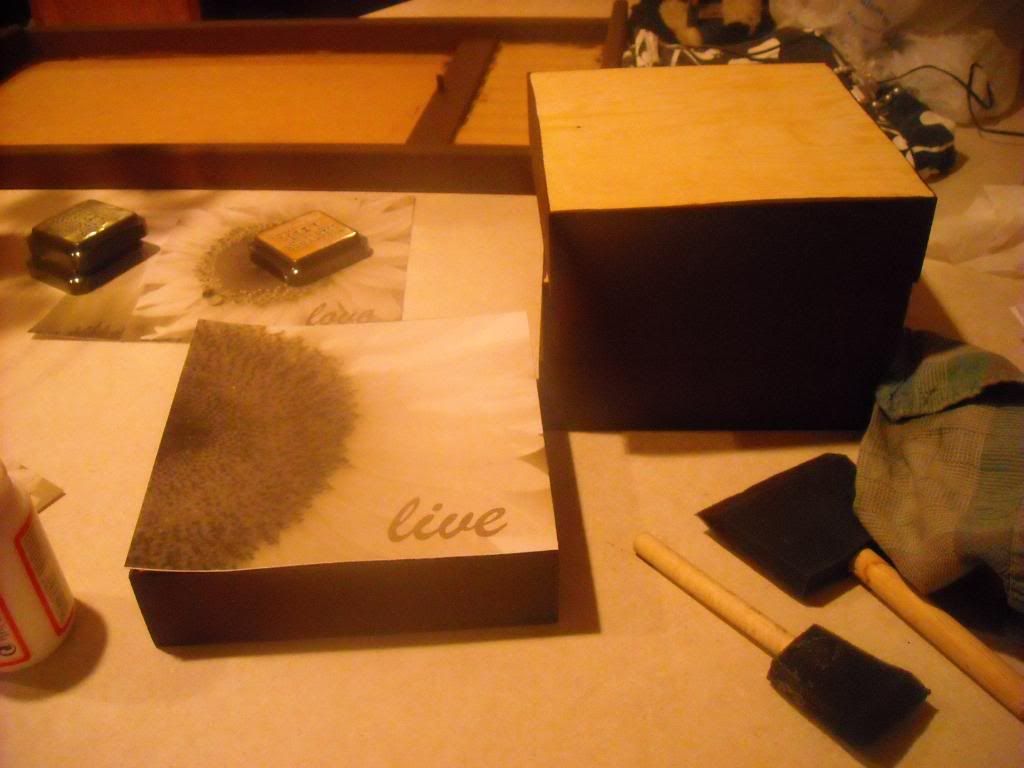
The next thing I did was paint the edges of the boxes a dark brown color and then used the glossy mod podge to attach the pictures onto the tops of the boxes.
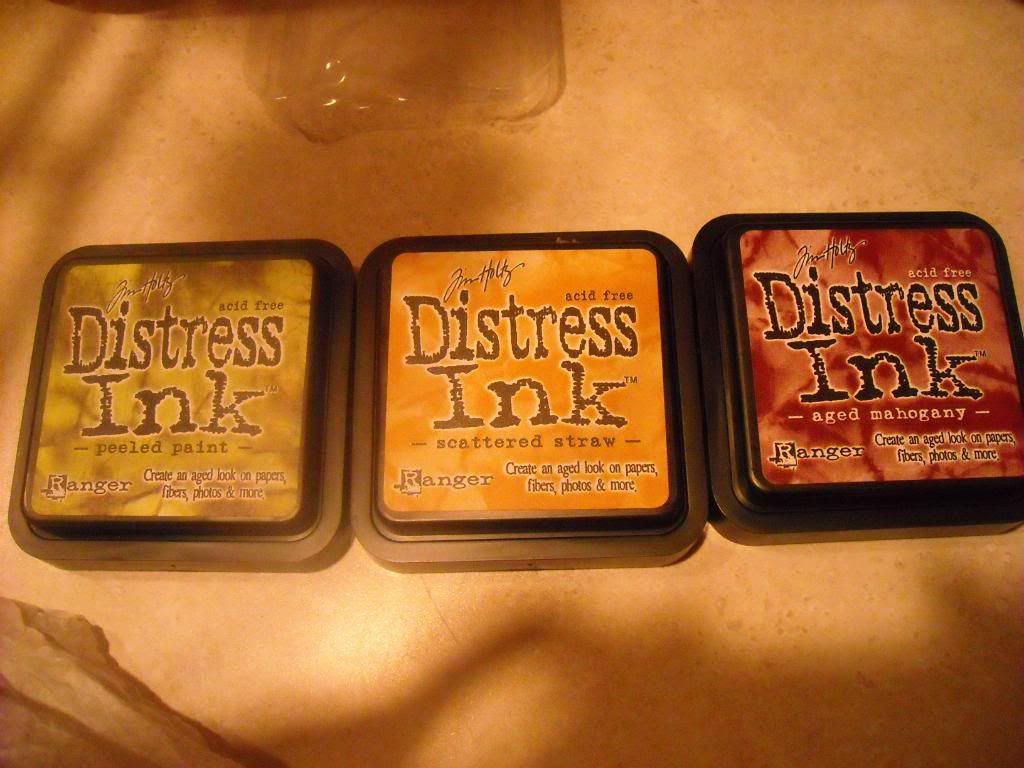
After I got all of the pictures attached, I took three of my fave distress inks and used a rag to rub some color around the edges of each box, making sure that each color stood out.
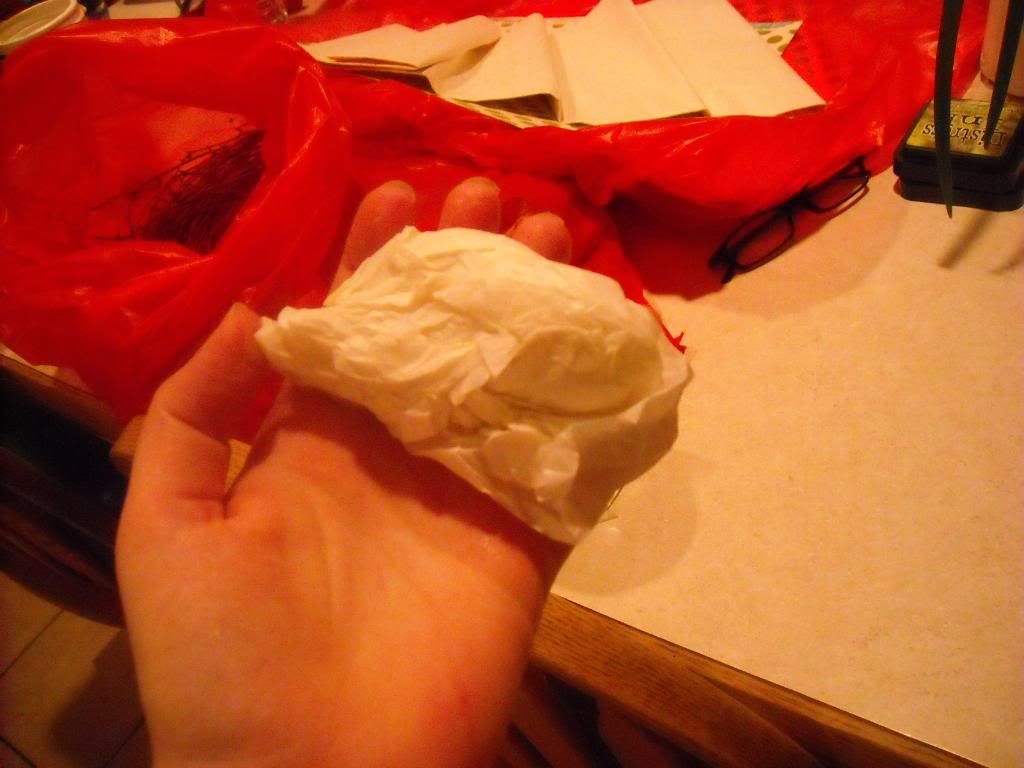
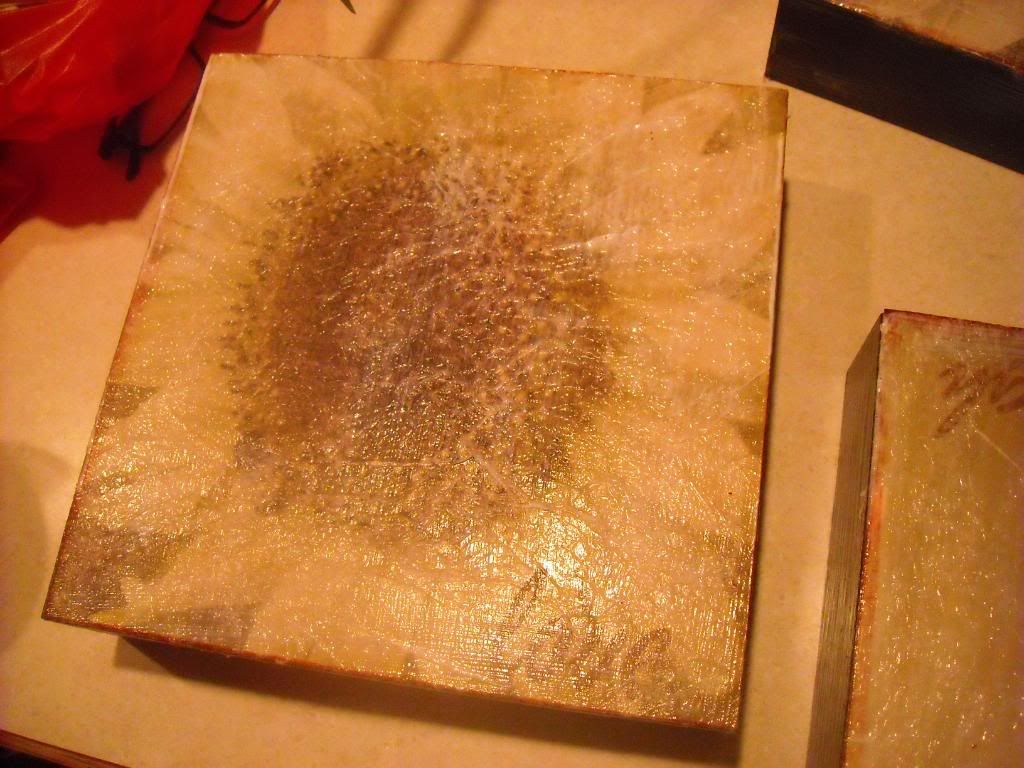
This next step is what made me love these boxes. I wanted them to have an aged look, so I took some white tissue paper and crumpled it into a ball
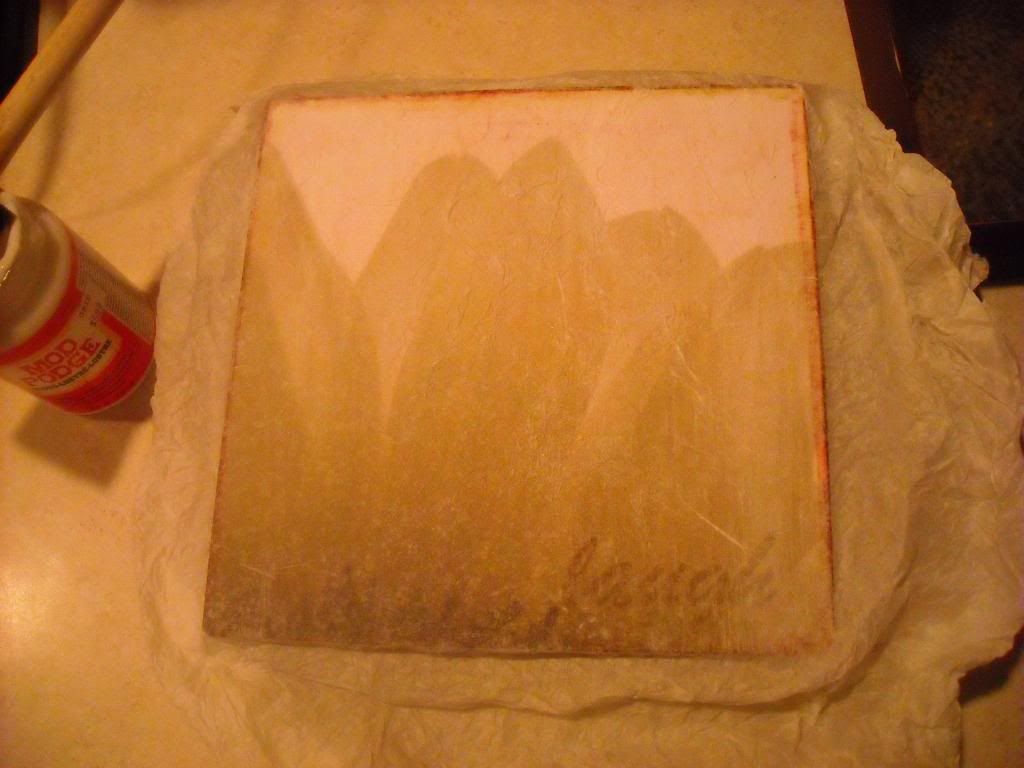
then uncrumpled it and put a thin layer of mod podge on the pictures and layed the tissue paper over the box. Then flatten the tissue paper over the top. It should look wrinkley and old. After it is all pressed down put another layer of mod podge over the top of the tissue paper. Make sure that you use a lot of mod podge to help the tissue paper get a sort of see through look.
Once the mod podge dries, peel off the excess tissue paper and use a sharp knife around the edges to make sure that all of the excess comes off.
Last step is to apply one more layer of mod podge over the top and around all sides to that the finish has a nice shine to it. Let them dry overnight and wha-la!
These babies are going straight up on the wall in my room, but don't you have a cute little shelf or empty wall space in your home that these would be perfect for? I thought so...

Tissue Paper Wall Boxes
Yeah!!I am so in love with these and they were so super easy. First thing that you are going to need is 4 8X8" wooden wall boxes. I got mine at Porter's for $4.99. You can go bigger if you want but I figured these would be the easiest sizes to print pics for. You also need to find 4 flower pictures that you like. I googled mine so I don't have the link or anything for them but you can do the same and find pictures that you like. I then changed the color to a light sepia and added text to each picture (live, laugh, love, always) and put them in the bottom right of each picture, and then printed them onto cardstock before cutting the paper down to 8X8" squares.
The next thing I did was paint the edges of the boxes a dark brown color and then used the glossy mod podge to attach the pictures onto the tops of the boxes.
After I got all of the pictures attached, I took three of my fave distress inks and used a rag to rub some color around the edges of each box, making sure that each color stood out.
This next step is what made me love these boxes. I wanted them to have an aged look, so I took some white tissue paper and crumpled it into a ball
then uncrumpled it and put a thin layer of mod podge on the pictures and layed the tissue paper over the box. Then flatten the tissue paper over the top. It should look wrinkley and old. After it is all pressed down put another layer of mod podge over the top of the tissue paper. Make sure that you use a lot of mod podge to help the tissue paper get a sort of see through look.
Once the mod podge dries, peel off the excess tissue paper and use a sharp knife around the edges to make sure that all of the excess comes off.
Last step is to apply one more layer of mod podge over the top and around all sides to that the finish has a nice shine to it. Let them dry overnight and wha-la!
These babies are going straight up on the wall in my room, but don't you have a cute little shelf or empty wall space in your home that these would be perfect for? I thought so...

Linked up to: The Idea Room - Link Round Up Sunday, March 7, 2010
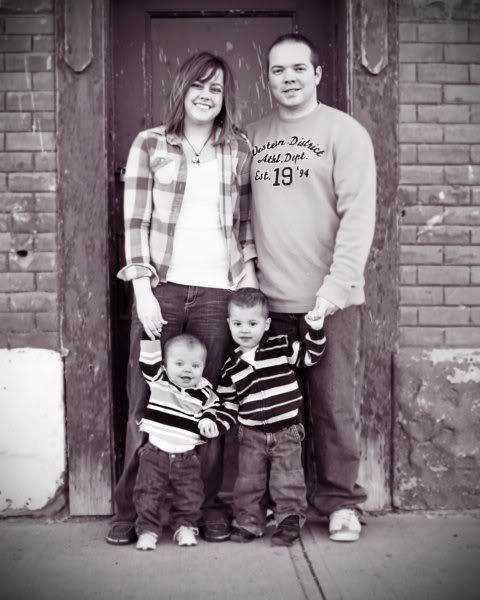
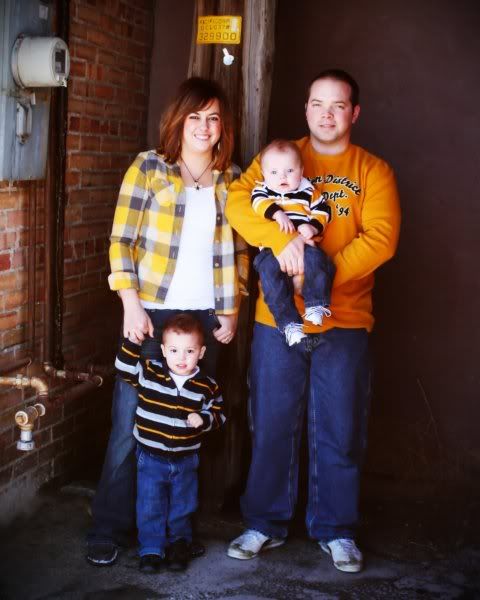
Some family pics
Ruth took some family pics for us a couple weeks ago. I can't wait until it's warmer to go take some more!
Wednesday, March 3, 2010
Jewels Hooks
So I had a little problem...
Ok, so I had a huge problem!!
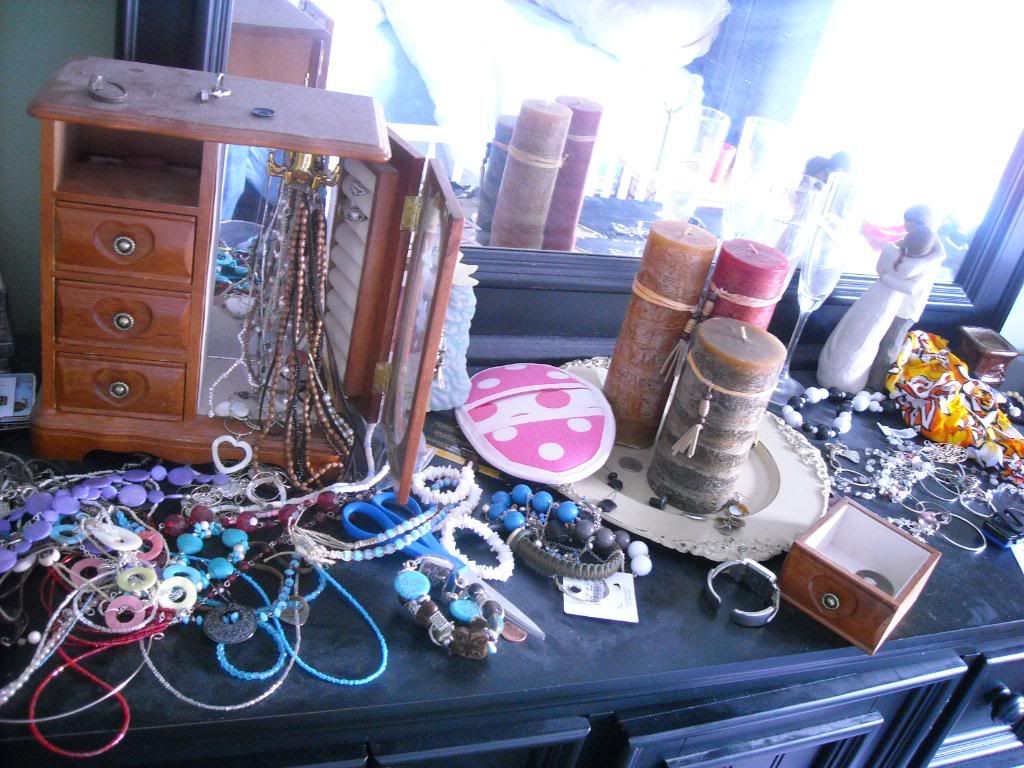
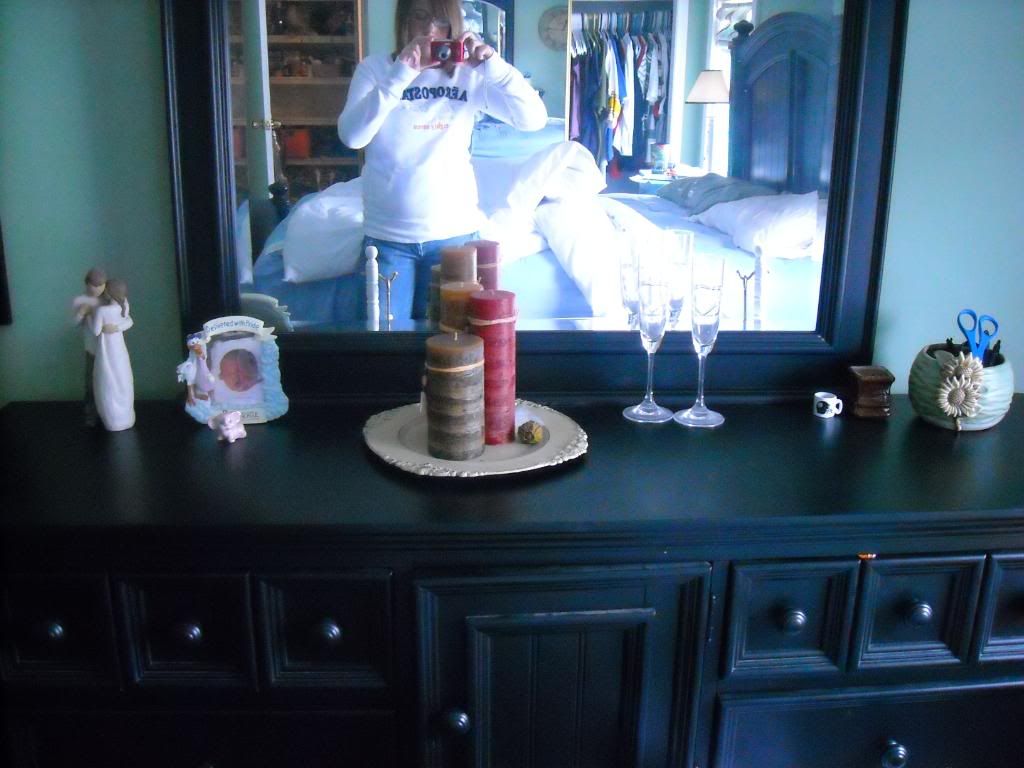
My name is Sammy, and I have an addiction. I LOVE jewels. All kinds. I buy them and buy them and buy them, and I have absolutely nowhere to keep them. I would rearrange them about once a month, and in about, oh, give or take a day, my dresser would go right back to looking like this.
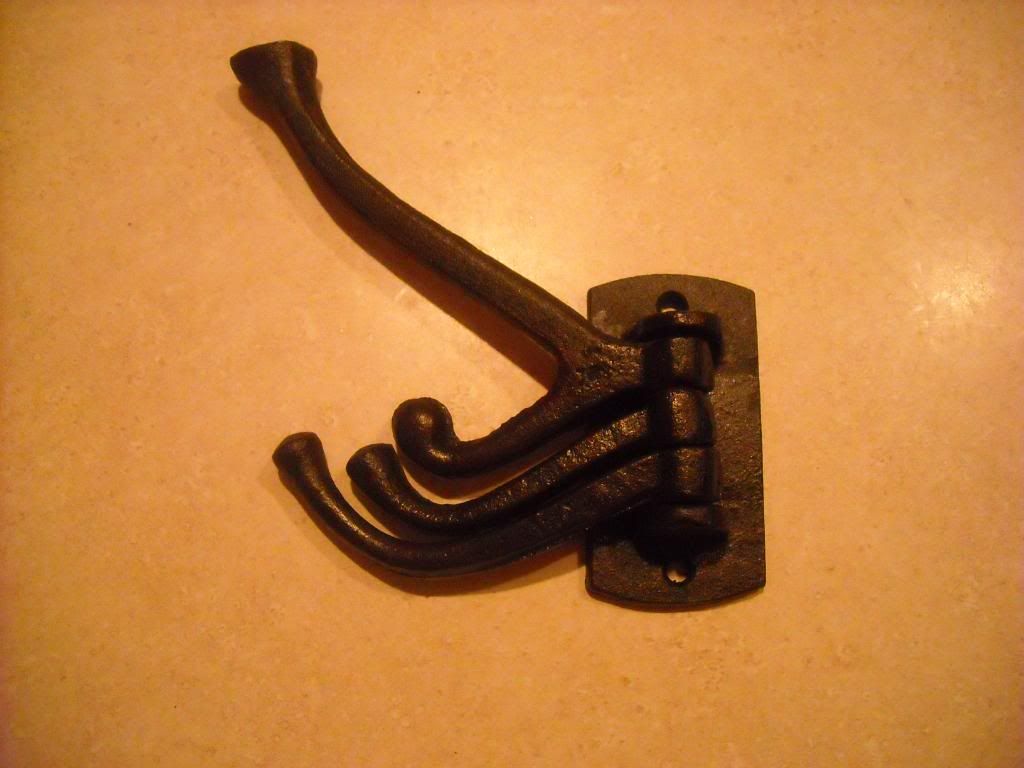
SO! I went out to Porter's and got me some jewels hooks.
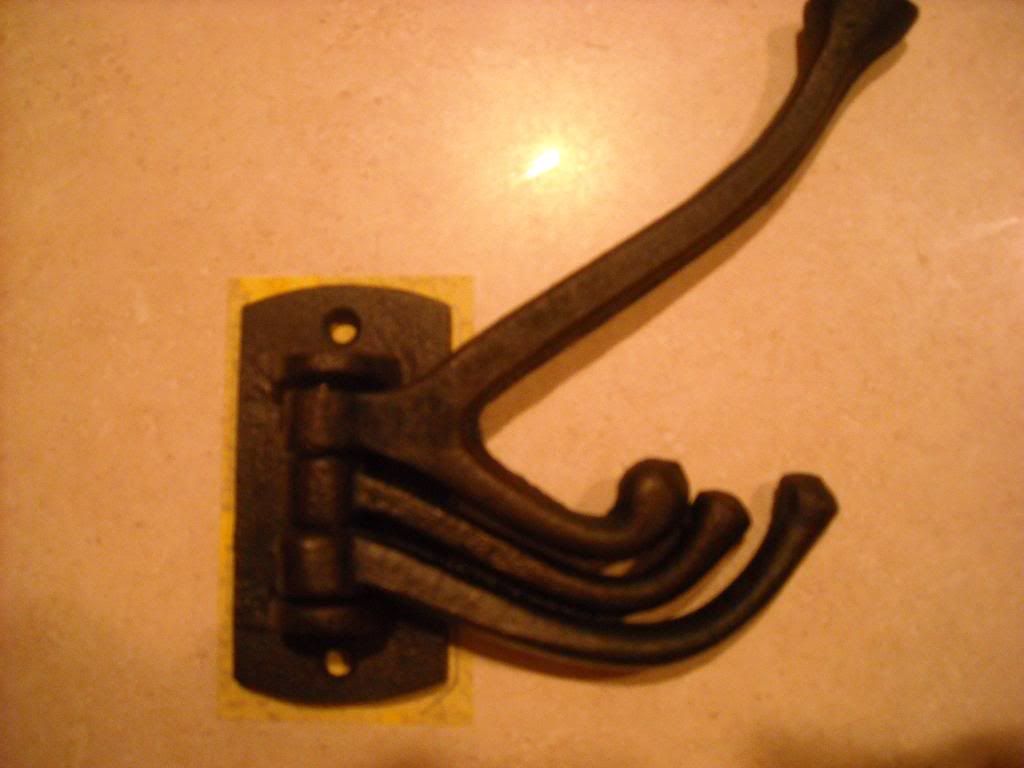
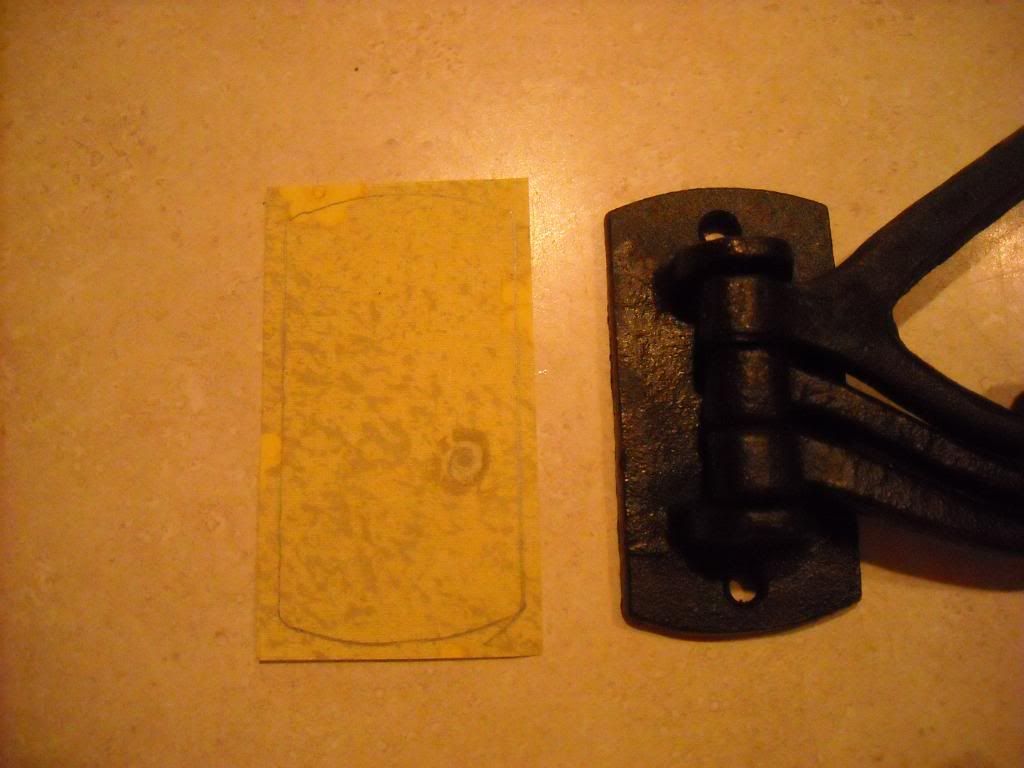
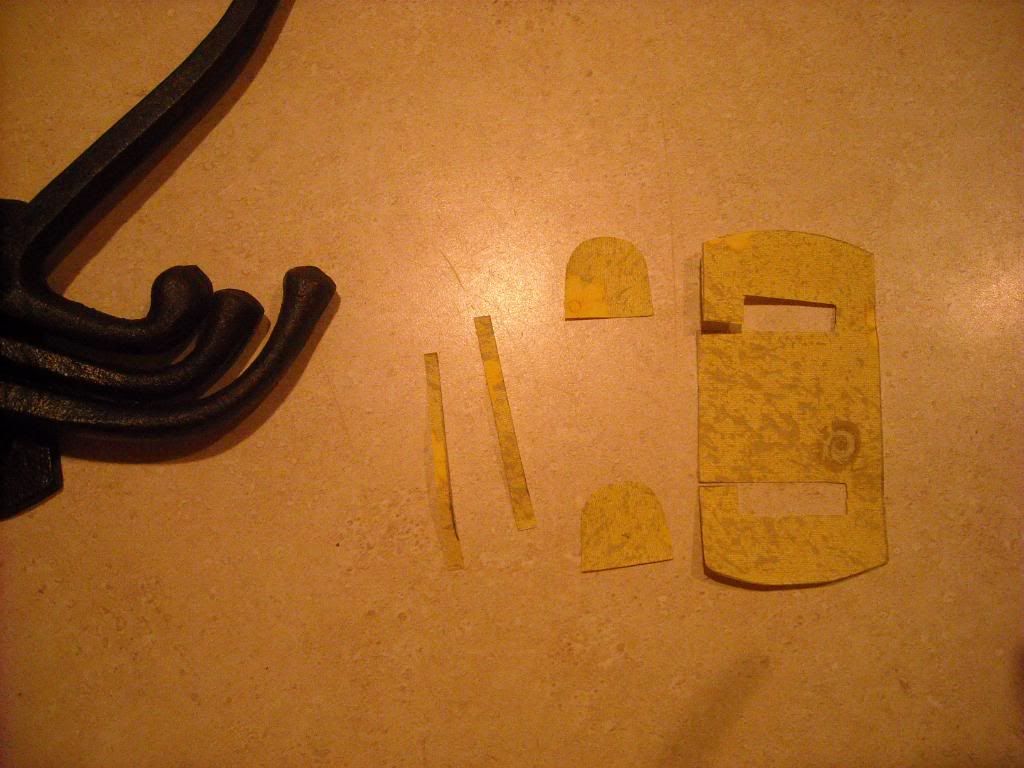
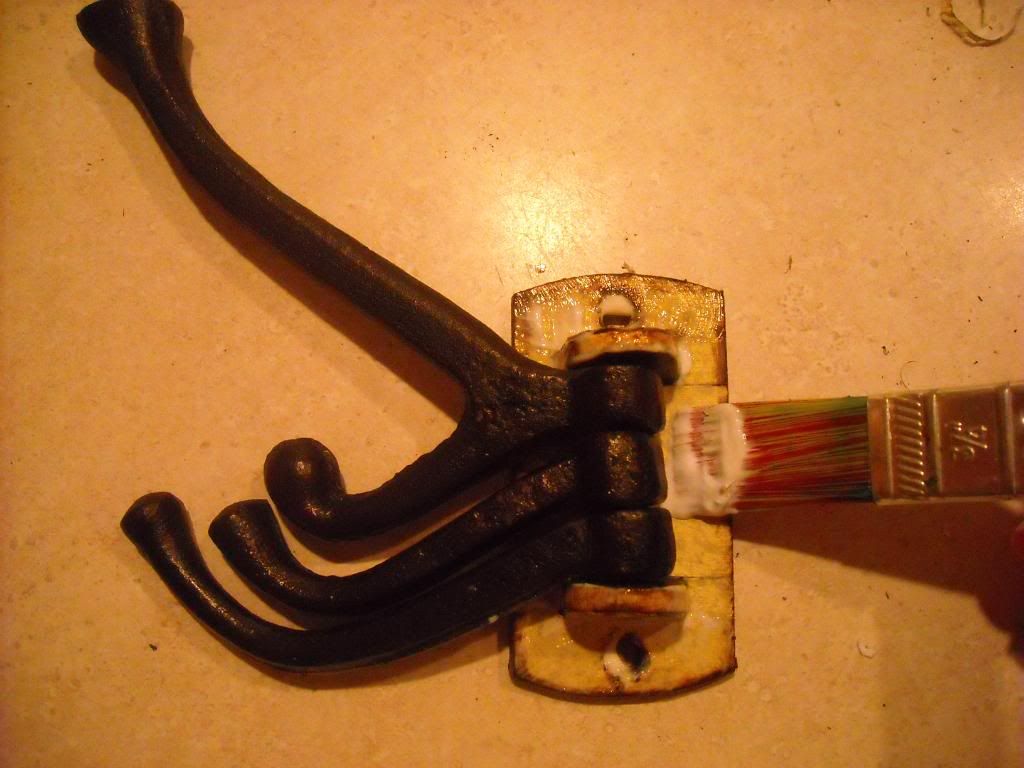
But they were SOOOO boring. So I decided to dress them up a bit. First thing I did was get some cute scrapbook paper. I laid the hook on the paper and traced around the outside.
Now just cut around the edges. You'll need to cut pieces out to fit the paper on to the top and the edges of the hinges.
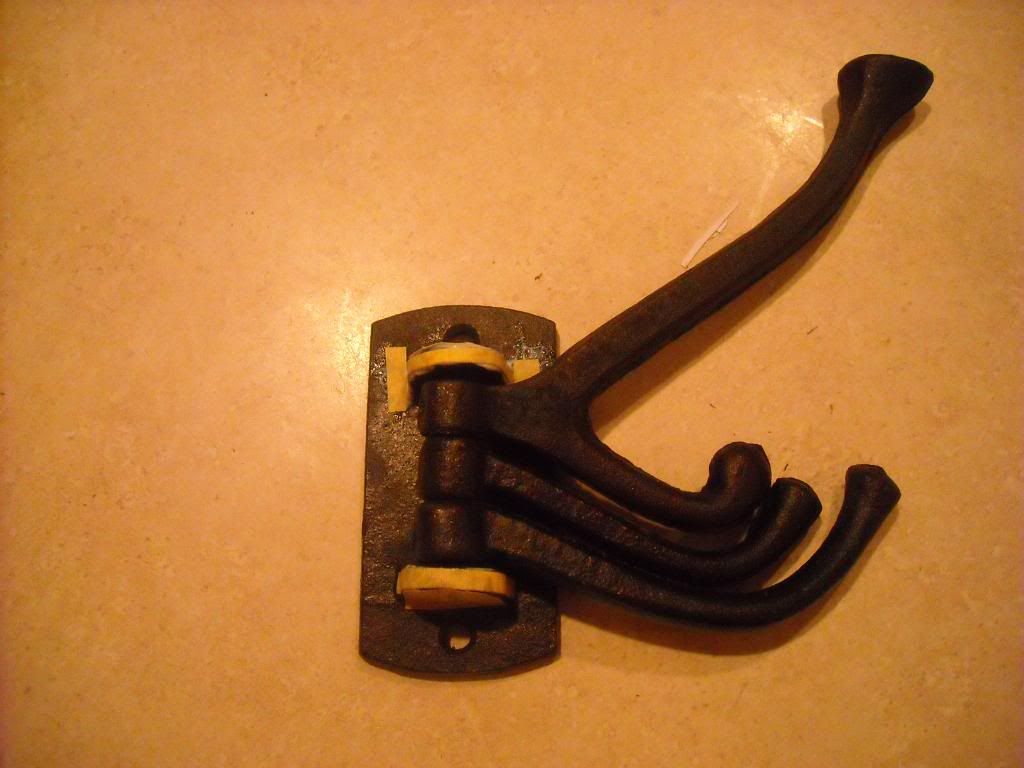
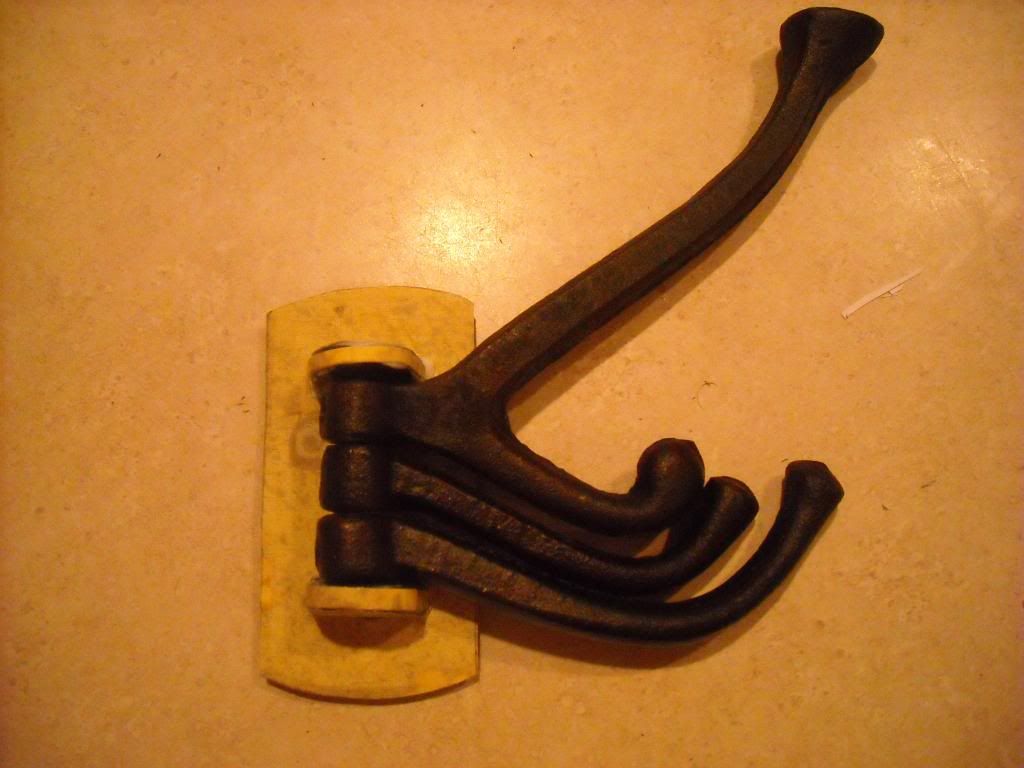
Next start layering on the paper. First paint on a layer of the gloss mod podge and lay the paper over the top, making sure to get all of the bubbles out.
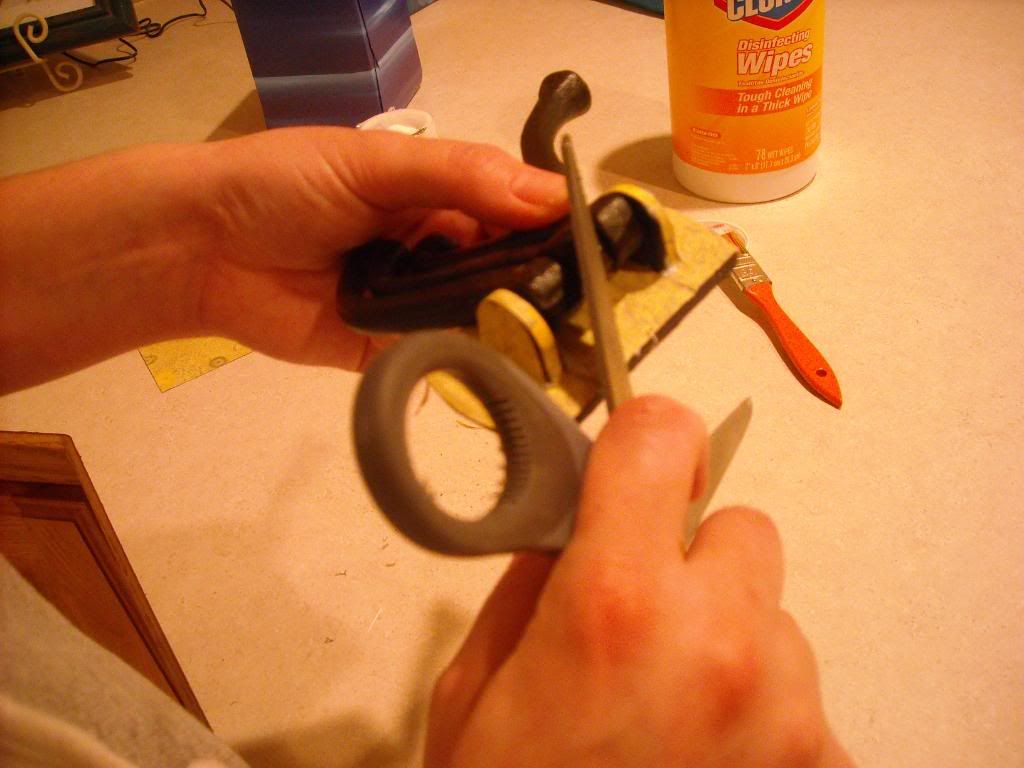
Now take a pair of scissors and scrape around all of the edges to help fit the paper more exactly to the hook. If the paper tears a little bit, don't worry about it, it will look good. Make sure that you poke out the holes for the screws too.
Now I took my distress ink (I absolutely HEART this stuff and went and bought some in every color available!!) in "walnut stain", rubbed a paper towel on it, and rubbed around all edges of the hooks and hinges.
And cover the entire thing in a good coat of the mod podge.
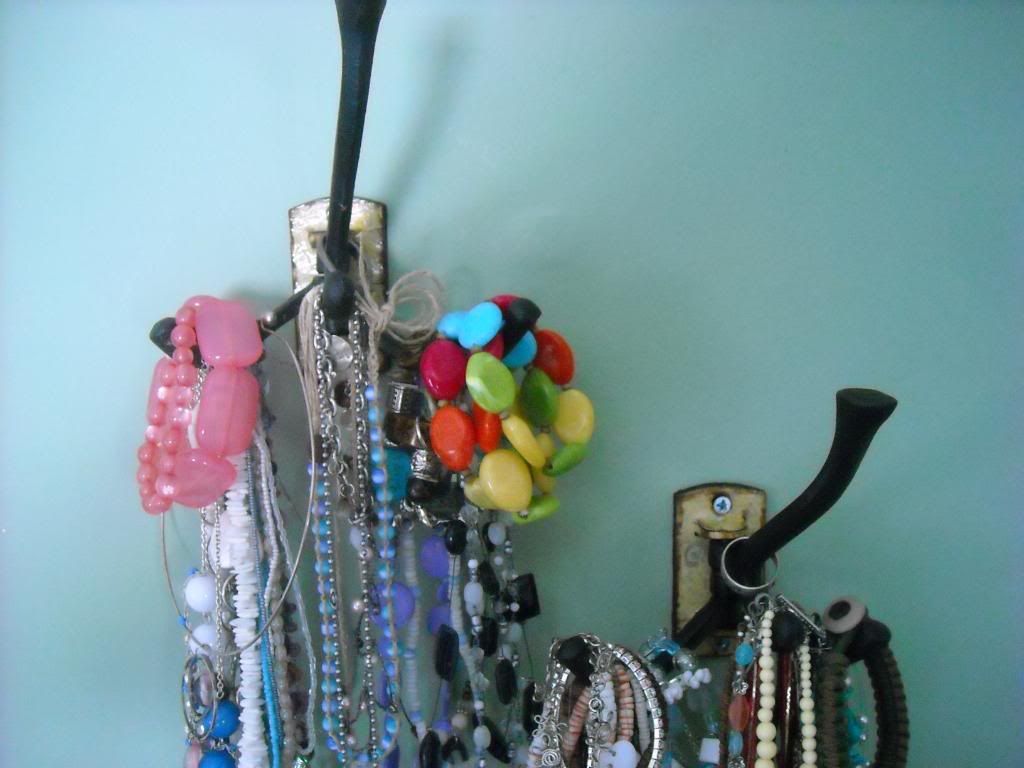
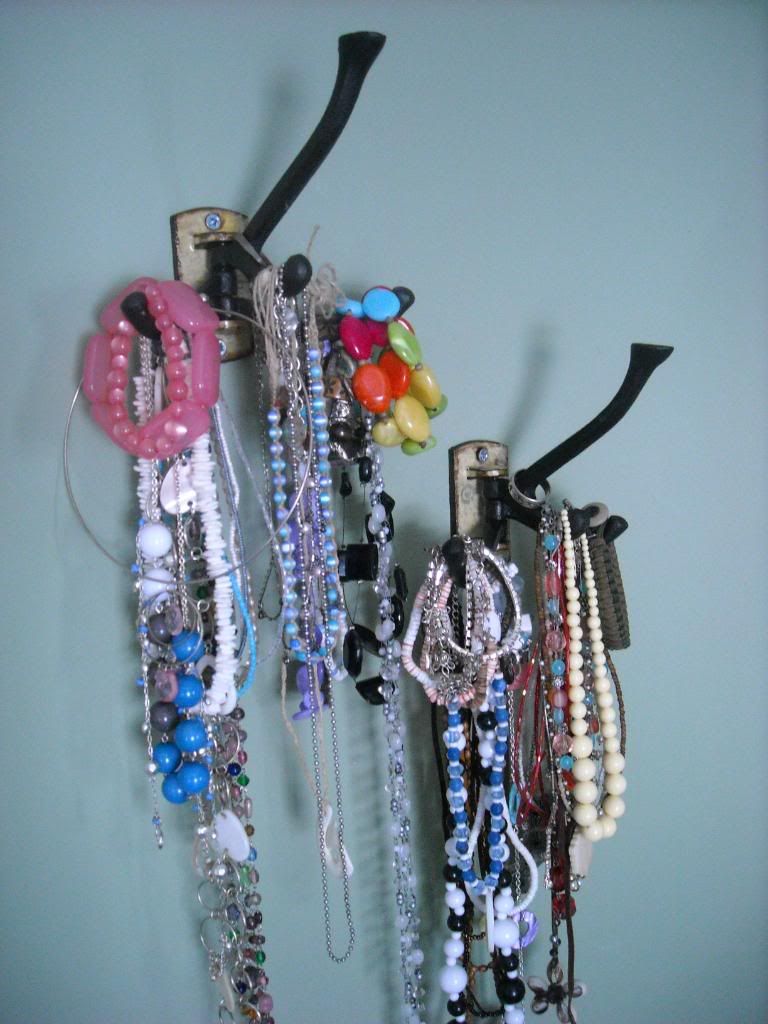
Let them sit until dry, and then screw them into your wall and hang your beautiful jewels on them to display.
So hello, my name is Sammy... and I'm recovering :D, well, at least my dresser is...
Tuesday, March 2, 2010
Cookie Dough Pie
Congratulations to Kierstin for winning the giveaway and thanks to everyone who supported us with it. We will hope to do another one soon!!
In honor of our apron winner today we will be sharing an awesome treat. This recipe is sooo easy and delicious. There is no real cookie dough in it but it tastes just like it. Please to enjoy!!
Cookie Dough Pie
Ingredients:
1 package Chips Ahoy (the original kind- not chewy)
1 tub of cool whip
hershey's chocolate syrup
vanilla ice cream (softened)
cup of milk
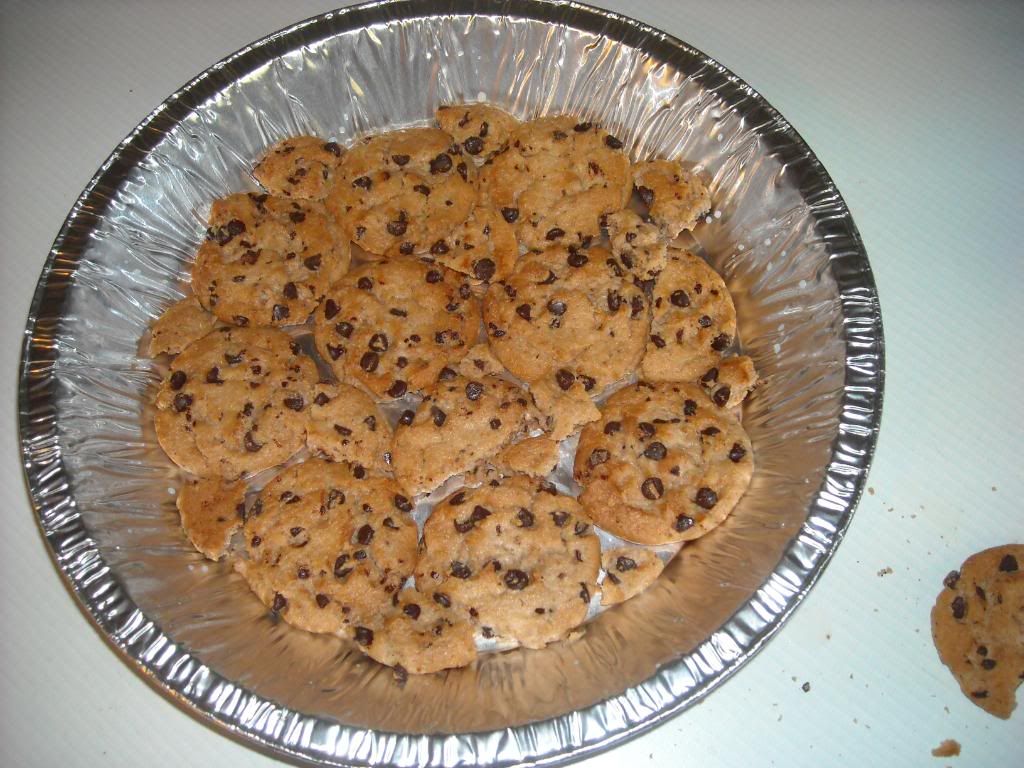
First thing you do is dunk your chips ahoy in the milk and layer them on the bottom of your pie pan. Lay down full cookies first, then break smaller chunks and dunk them in the milk to fill in the gaps.
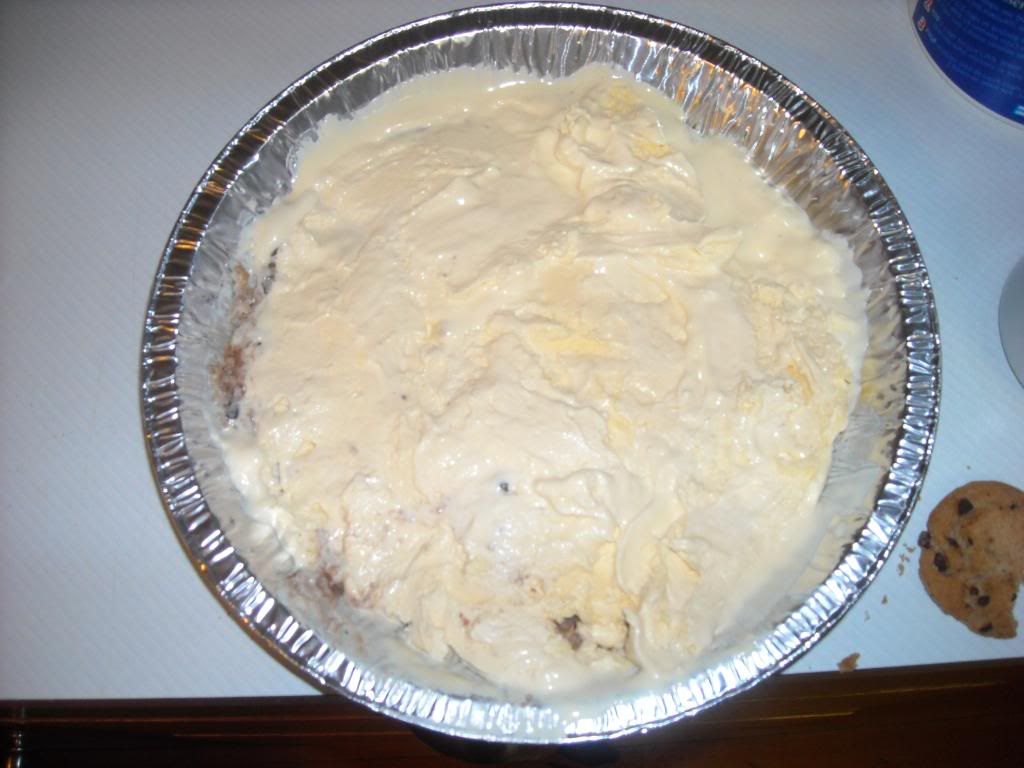
Next layer you want to spread on about an inch thick of vanilla ice cream
Now layer another layer of chocolate chip cookies the same way as the first layer. This would also be fabulous with 2 layers of these cookies right in a row. Don't forget to dunk them in the milk first!
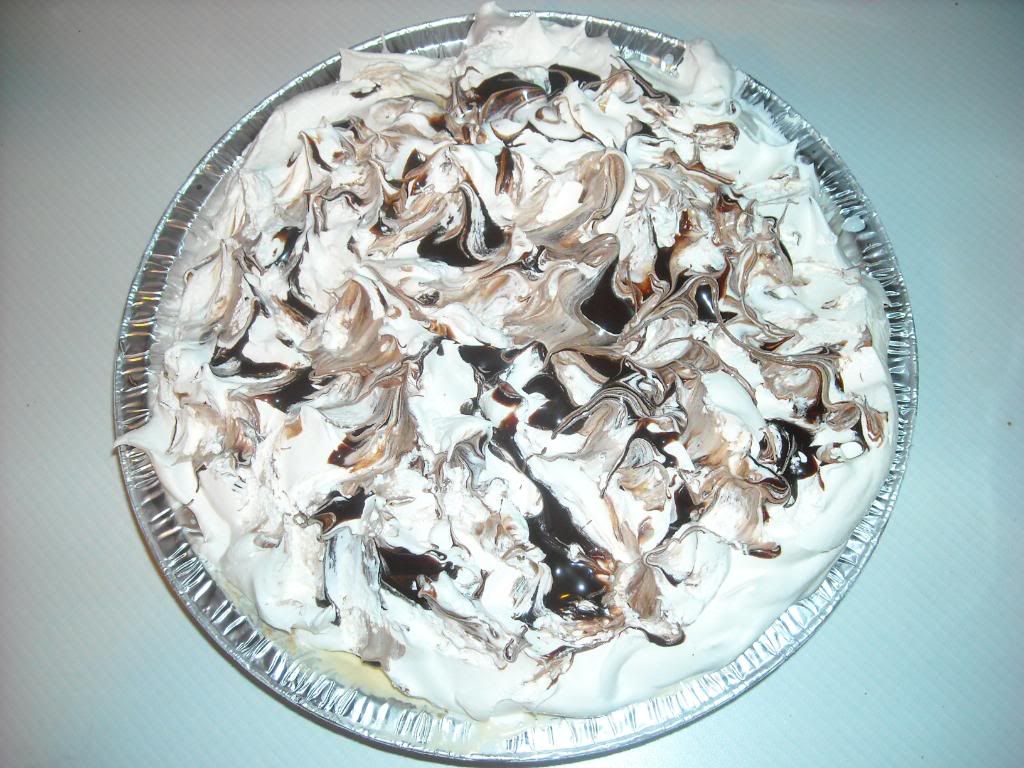
Now to finish it off, layer on a ton of whipped cream then drizzle chocolate syrup on top. Use a rubber spatula and set it on the whipped cream and pull staight up to create peaks and make the pie look extremely delicious :D
Now eat it up as quickly as you possibly can, or if you are on a diet like I am, take it over to a neighbor so that they can enjoy all of that fabulosity while you
Subscribe to:
Posts (Atom)


