Wednesday, May 26, 2010

Hutch Rebeautify

So I have this hutch. It used to be cream and really tall, like, it almost touched the ceiling in my living room, granted we have really low ceilings, but still.  So last year while my hubs was gone to AIT with the national guard I detached the top and painted it this really cute green color (it's not quite as harsh of a green as it appears in the pic).  It has been like this for about a year now, and since the hubs is gone to AIT again, I thought it needed a change. So I thought back to the tissue paper wall boxes I made earlier in the year and decided to try the same kind of thing.
I wanted all of the pieces of paper to be the same size so I measured the top of the hutch and it was 15 3/8X40 3/4". So I decided that I would cut each piece of paper to 5 1/8X10 1/4. So I had 3 rows across and 4 rows long.
Then I started applying the mod podge, enough for one piece of paper at a time,
 
and laid the paper down, flattening it with the side of my fist to prevent bubbling.
and worked my way all the way across the top.
Then I took 3 colors of distress ink, a dark brown, a lighter brown, and a green and worked it around the edges of the hutch with a paper towel, darkest on the outside and lighter as I worked my way in.
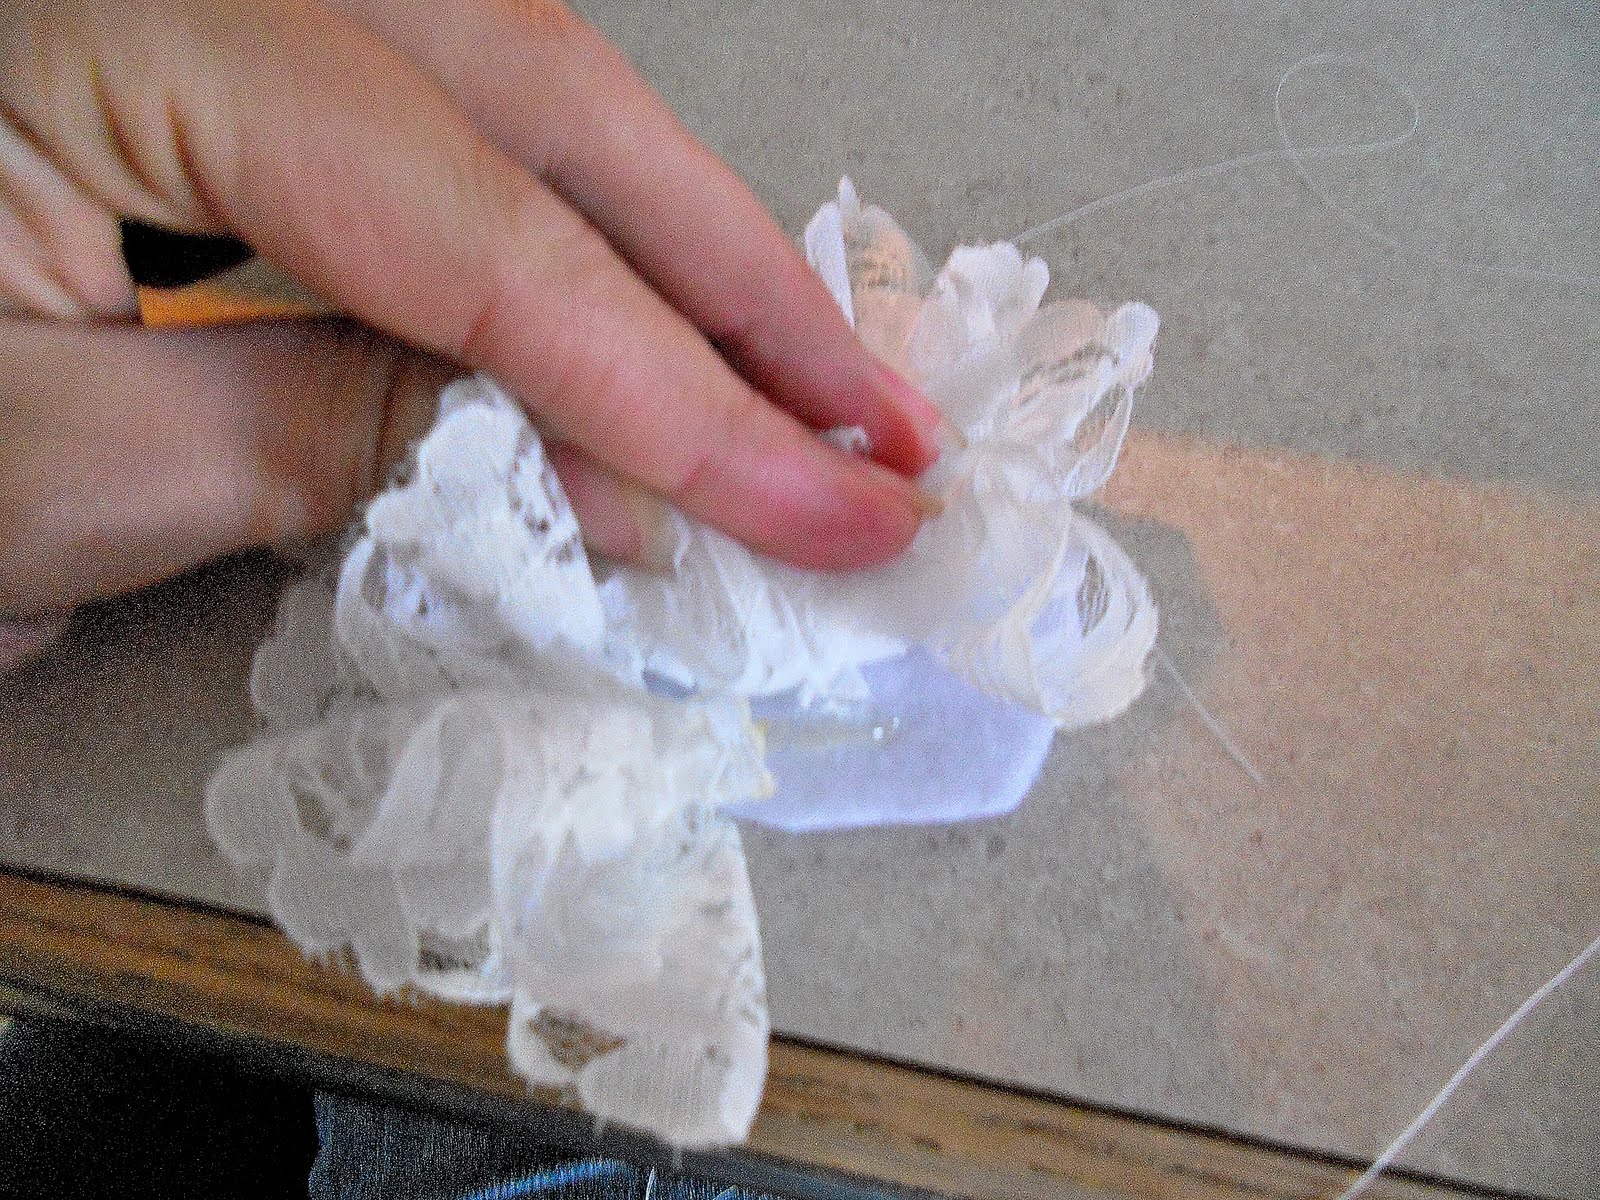
I then started applying the tissue paper. I crumple it first then flatten it back out and lay it onto a thick layer of mod podge. It's important to put enough on that the tissue paper can absorb it to make the tissue paper see-through. And then apply another thick layer of glossy mod podge to the top.
Once it was dry I used a craft knife to cut the excess tissue paper off of the hutch.
I then rubbed a little more of the dark brown distress ink to the finish using a paper towel to give it more of an antiqued look.
I then used the same distress ink and worked it around all of the edges and crevices on the rest of the hutch.
It's like a new piece of furniture!! I wonder if my hubs will even notice the difference. (I didn't even notice that Mr. Finn helped decorate with his blocks while I went to get my camera. Oh well, this is a more accurate representation of my house I guess :D )

And find all of our link-to's here!

Monday, May 24, 2010

Lace Hair Flowers

I've been loving the look of lace flowers lately, so I thought I would do a quick little tutorial on how to make a lace hair flower.  The first step is to take your lace and sew a basting stitch (the longest stitch) along the edge of the lace.
Then you want to take the flat thread and hold on to it and pull the lace over to scrunch it up.
Next cut out a circle out of some felt
Now starting in the middle put a hot glue dot down and attach the end of the lace. Now take the lace and wrap it around the end piece, gluing as you go.
Once you finish wrapping it, fluff it up to make a poof or you can flatten it down and glue some beads or a cute flower in the center.  Then you want to attach it to a hair clip. I usually use ribbon and just glue it right to the clip, but I recently saw an idea on V and Co. to make them interchangeable and did that instead. You can do whichever way you prefer, and can find that tutorial here. Here are a few of my finished project. I love them, they are so girly! (Sorry, I have failed to perfect the "myspace pic". Bummer I know).

Make sure that you check out the linky parties here!

Tuesday, May 18, 2010

Magnetic Busy Boards

We are getting rid of our TV.  Yes, it will be gone, finito.  We are finally having some beautiful weather and all my 2 year old wants to do is watch cartoons. Well no more. So I have been trying to come up with some fun things for him to do to keep himself entertained and this week I came up with these...
And I am in love! They were so fun to make and Mr. Finn absolutely adores them (A+ for mom!). And they were super easy. 

Materials Needed:
Dry erase board
Pencil Case
Clamp
2 Metal Clasp Rings
 Sheet Magnets
Face Print out

I started out with a magnetic dry erase board from Walmart. These measure 11X11".
I used a ruler and found the middle of the board and used a dry erase marker to draw the shape of the face and then traced over the dry erase marker with a sharpie.

Next step was to drill 2 holes in the top (mark where to drill using the holes on the pencil bag)
And then I used E600 to glue a cute bulldog clamp right in the center of the top.
And use the metal rings to attach the bag to the dry erase board.
 Next thing I did was freehand some face parts (eyes, nose, mouth, ect.). I also made a second board that was for animals. I laminated all of the drawings and then cut them out.
Then I placed all of the pieces onto the magnet sheets and cut them out.
All of the pieces are easy to store in the pencil bag, and I also put some colored pencils in each bag so that we can attach some paper to the clip and they can have a cool little coloring board. These keep my boy entertained for quite a while, and trust me, that is saying something.
If you don't want to freehand the magnets yourself you are more than welcome to download the ones that I drew. Keep in mind these were all done with pencil and markers so they are by no means professional, but I think that it adds to the charm!

Download the Face Pieces here
And the Animal Pieces here
*Make sure to set the pages to letter size when printing (or 8 1/2X11)

And don't forget to check out all of the awesome places that we are linking to here!

Thursday, May 6, 2010

Watering Can Part 2!

If you missed part 1 you can scroll down below or click here

Alright, sorry this took so long to get up, I've had 2 sick boys at home, and did I mention that it SNOWED last night!!! BOO :(
So anyway, the next step is to drill some holes into the bottom of your can for the excess water. If you don't have a drill and drill bit, you can use a hammer and nail and put the holes in that way.
Then I went and found a red flower pot base at my local Wally-mart and some really cute red gerbera daisies. 3 bucks. Can't beat it. (Well I couldn't.)  I took the daisies out of their pot and replanted them in mine and then put the watering can on the plate.
Then I took some thin twine and wrapped it around the middle of the can a few times...
and tied a little bow right in front. Cause that's how I roll.
And this little lovely will be going to my mother-in-law in about 3 days because, well, she's awesome and I thought that this would be a little funner than your routine bouquet of flowers. PLUS she's really good at keeping plants alive, and I'm really good at killing them :D
HAPPY MOTHER'S DAY!!
 Find all of the awesome places we link to here