Wednesday, July 7, 2010

Baby Gifts Part 5- Terry Spit Cloths

Here's my take on the spit cloth.

First thing to do is cut a rectangle out of a cotton fabric 9X18 inches, and then cut the same out of a terry cloth fabric.
Sew the right sides together leaving a hole to flip right side out.
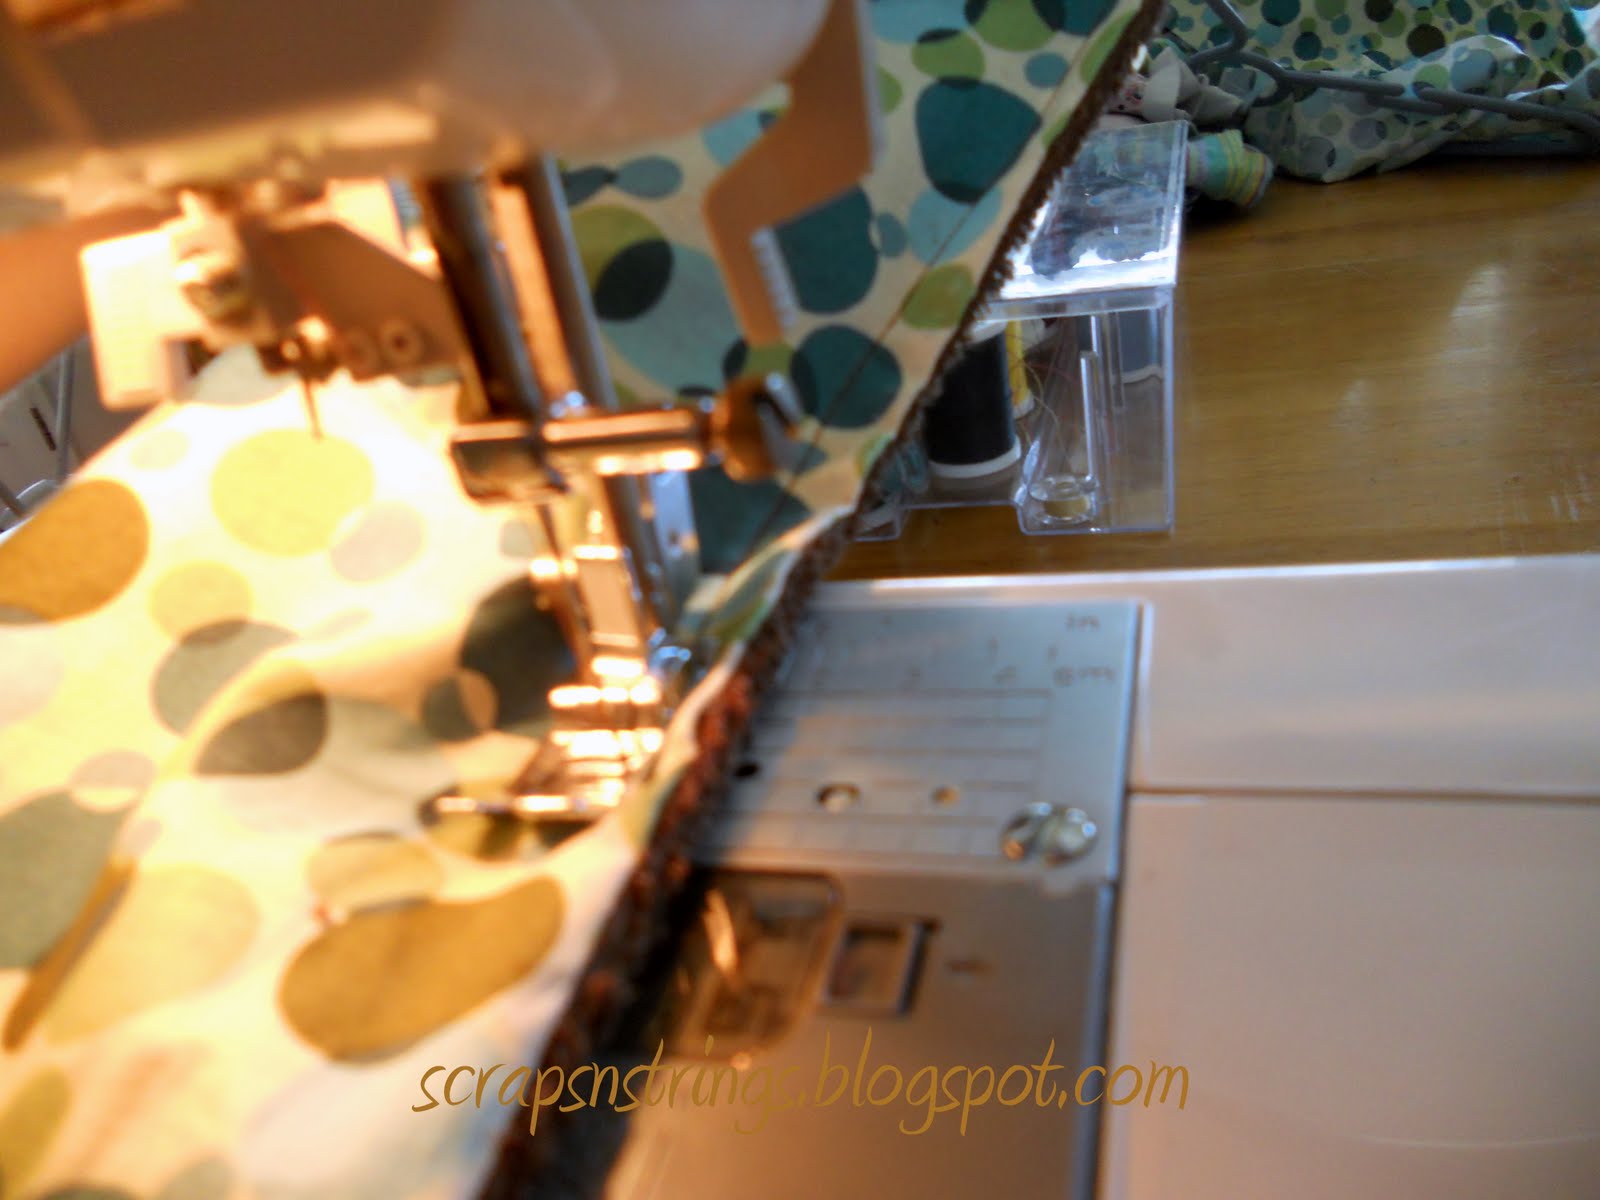
Next iron them flat and then sew around around the edges to add a cute finish and to close the hole.
And they are done. Easy Peasy!
Then fold them in half hotdog way and roll up. Fold down a corner to show the terry inside and tie a bow around with a coordinating ribbon to hold in place.
And there you have a darling little baby gift, pre spit-up!

Links are here!

Friday, July 2, 2010

Ruffle Ribbon Headband

I had this idea for a headband...
Cute, super feminine, and way easy to make. All you need for this little gem is:

A thin headband
Some wide wired ribbon
Matching thread

To start off, bunch up one end of the ribbon and tie a knot around to hold it in place. (I doubled up on the thread so that it would not break when pulled tightly.)
Then take your headband and tie the ribbon on about an inch from the bottom so that the end is facing up. Wrap the thread around a bunch of times for each tie.
Then take the ribbon up about an inch and tie it again, giving the ribbon some bunch in between the two ties.
Then take the ribbon up again, this time make a little more space in between the ties.
Repeat the step again for ruffle number 3, again adding a little more space for a bigger ruffle.
Then do the fourth ribbon, turning the end of the ribbon back in to hide it. Cut off the remaining ribbon.
Now insert your finger into the ruffle and pull up so the ruffles are moving toward the top. (Almost heart shaped.)
And it's done. I love this headband and it looks as cute on adult hair as it does on this lamb.
Gorgeous!
Try it out! 

We are linked up here!

Wednesday, June 30, 2010

Baby Gifts Part 4- Wipee Case

For part 4 of our baby gifts I did a wipee case.
To make these you need:
2 pieces of felt
some cute fabric
1/8" ribbon
7/8" ribbon
an embelishment
a plastic wipe case (You can find these at Walmart for about a buck)

To start out all you do is hot glue the felt onto the top and bottom of the case. Make sure that you don't allow the glue to start to dry to avoid bumps. Then trim the felt to the shape of the case.
Then hot glue the fabric on top of the felt (I just put the hot glue around the edges. Then cut it so it will fold over about 1/4 of an inch.
And then hot glue the edges down
Next glue the 7/8" ribbon across the top and then glue the 1/8" ribbon around the outside to cover up the edges of the fabric and add in whatever embelishment you like.
These take about 15 minutes are so cute, especially for how easy they are to make. Try it out and see what you can make of it.

Link ups found here

Friday, June 25, 2010

Happy Birthday Banner

This is a fun little banner that I made for my baby's 1st birthday.
It was really fun and can be used over and over again.
To make this I used a 2" circle punch and used 4 circles glued together to make the balls. Then I strung each one individually onto a piece of ribbon and tied the ribbons together.
Then I got some chipboard letters, mod podged some fun paper onto them, punched holes into the top and strung them together with ribbon to, attaching the ball strands onto each end and between the words. Easy, cute, reusable. My kind of project :D
Find all of the linkys here

Wednesday, June 23, 2010

Baby Gifts Part 3- Car Seat Tent

This is one of our first posts on our blog and one of my favorites! So I'm reposting it for anyone who missed it, and because it makes an awesome baby gift!

 I'm going to teach you how to make a car seat tent.
These are awesome for all seasons.  Especially for baseball games and things in the summer and for Church all year round!  I designed it to be a cover but also to double as a blanket.
Items Needed:
2 yards each of a cotton fabric and a snuggle flannel
2 packets of quilt binding in a complimentary color
matching thread
2 buttons (the bigger the better, I say :D)
To start off I bought 2 yards each of a cute cotton print (for the top) and a snuggle flannel for the bottom.  I cut each piece into a rectangle measuring 33 X 41".
Next you will turn the opposite sides together and sew around the edges about 3/4 of an inch leaving enough unsewn to reverse back to the right side.
Once it is turned out take your quilt binding and sew around the edges and use this to sew up the hole.
Next cut 2 strips of each fabric 7 X 3" and turn the opposite sides together sew around the edges and then flip right-side out and sew again along the edges.
Now sew a button hole to one end of each strip.  I used the zig-zag stitch to make 2 parallel lines then connected them with a straight stitch and then used my seam ripper to cut a hole in the middle.
 Next sew buttons on the opposite end.
Now lay the blanket over your car seat to determine where to sew on your straps.  Pin them on and sew a small rectangle attaching the straps to the blanket.
Voila!! I promise this is easy! I am a beginner and the whole project took me only a couple of hours.  I hope that you try it out and love yours as much as I loved mine!
And find all of our linkys here!

Monday, June 14, 2010

Baby Gifts Part 2- Nursing Covers


Part 2 of our baby gifts are these super cute nursing covers. I made these for myself with my boys and I love them. These covers do not have the boning in the top. You could probably add it if you wanted to, but I never liked the idea that some creeper could walk behind me and look down through the hole.. I know that would probably never happen, but these are the thoughts that go through my head.

These are really simple. All you need is 2 different fabrics (or you could do the same...) about a yard each.
This part I just kind of roughed. The dimensions you want to cut are 41" across and 25" tall. The shape is like an oval that has one side pulled out a little farther (see the pic :D). Lay the fabric one on top of the other and cut the fabric to this shape.
Next, fold the cutout in half and cut a half circle out for the head hole.
Open up the fabric and then cut a slit through the top to open up the circle.
Now, making sure that the right sides are together, sew around the edges of the entire cover.
Make sure to leave one of the ends open. I start sewing at the top, go all the way around and then down into the head hole, and end it on the other edge to leave the opening.
Then turn the cover right side out through the opening.
And once it is all flipped through, iron it to flatten around the edges.
Now take the open end and fold it about half an inch to the inside.
And tuck the sewn end into the opening.
Sew down to close it up.
Now sew again just around the edges of the nursing cover.
And that's it. I can usually whip one of these out in about 30 minutes. Like I said, super easy, any beginner sewer can manage one of these an I love that you can flip the cover to fit your mood. (You know, just in case you have flower moods, or polka dot moods :D
And yes, we are linking up! Check 'em all out here!