Wednesday, January 19, 2011

Prairie Chunk Necklace

So we find out today if we made it into Crafting with the Stars! My fingers and all of my toes are crossed, we really want to make it in! So we'll let you know what we find out!

Until then, here is the tutorial for the Prairie Chunky Necklace.

Here is a pic of all of the different fabulous stuff that I used for this necklace. Every item here was purchased at Michaels, but feel free to mix it up, use what you like, find a length that works for you, and what fits your style.
I've got four different styles of chains, 2 different types of beads, some fabric strips, a flower embellishment bead, eyepins, split rings, and some jewelry pliers.

I started with the base of the necklace. I took about 7 inches of a plain chain and attached a split ring onto one end.

I attached the flower to the split ring and then added another split ring to the bottom of the flower. The fabric strip is then threaded through the bottom split ring.

I then tied the fabric strip in a bow and then looped another split ring through the bottom of the bow.
To this split ring, I attached the entire big chain and then connected it back to the small chain at the beginning.
Next I started on the bead chain. The first step is to use the eyepins in all of the beads.

Slide each bead onto the eyepin and then clip with the wire cutters and curl the end with the round pliers.
When they are all done they will look something like this:
(I realize that I am showing the incorrect amount of beads in this picture, so just squint you eyes and pretend that there are 6 round beads and 3 square beads.)
Now start attaching the beads together with the split rings like so

I used my smallest chain on this one. My pattern was chain-circle-circle-square-chain-circle-square-circle-chain-square-circle-circle-chain. HA! Does that make any kind of sense at all? No? Well here's a picture...
Then attach split rings on the ends and attach it to the flower chain at the top of the flower on one side and at the top of the big chain on the other side.
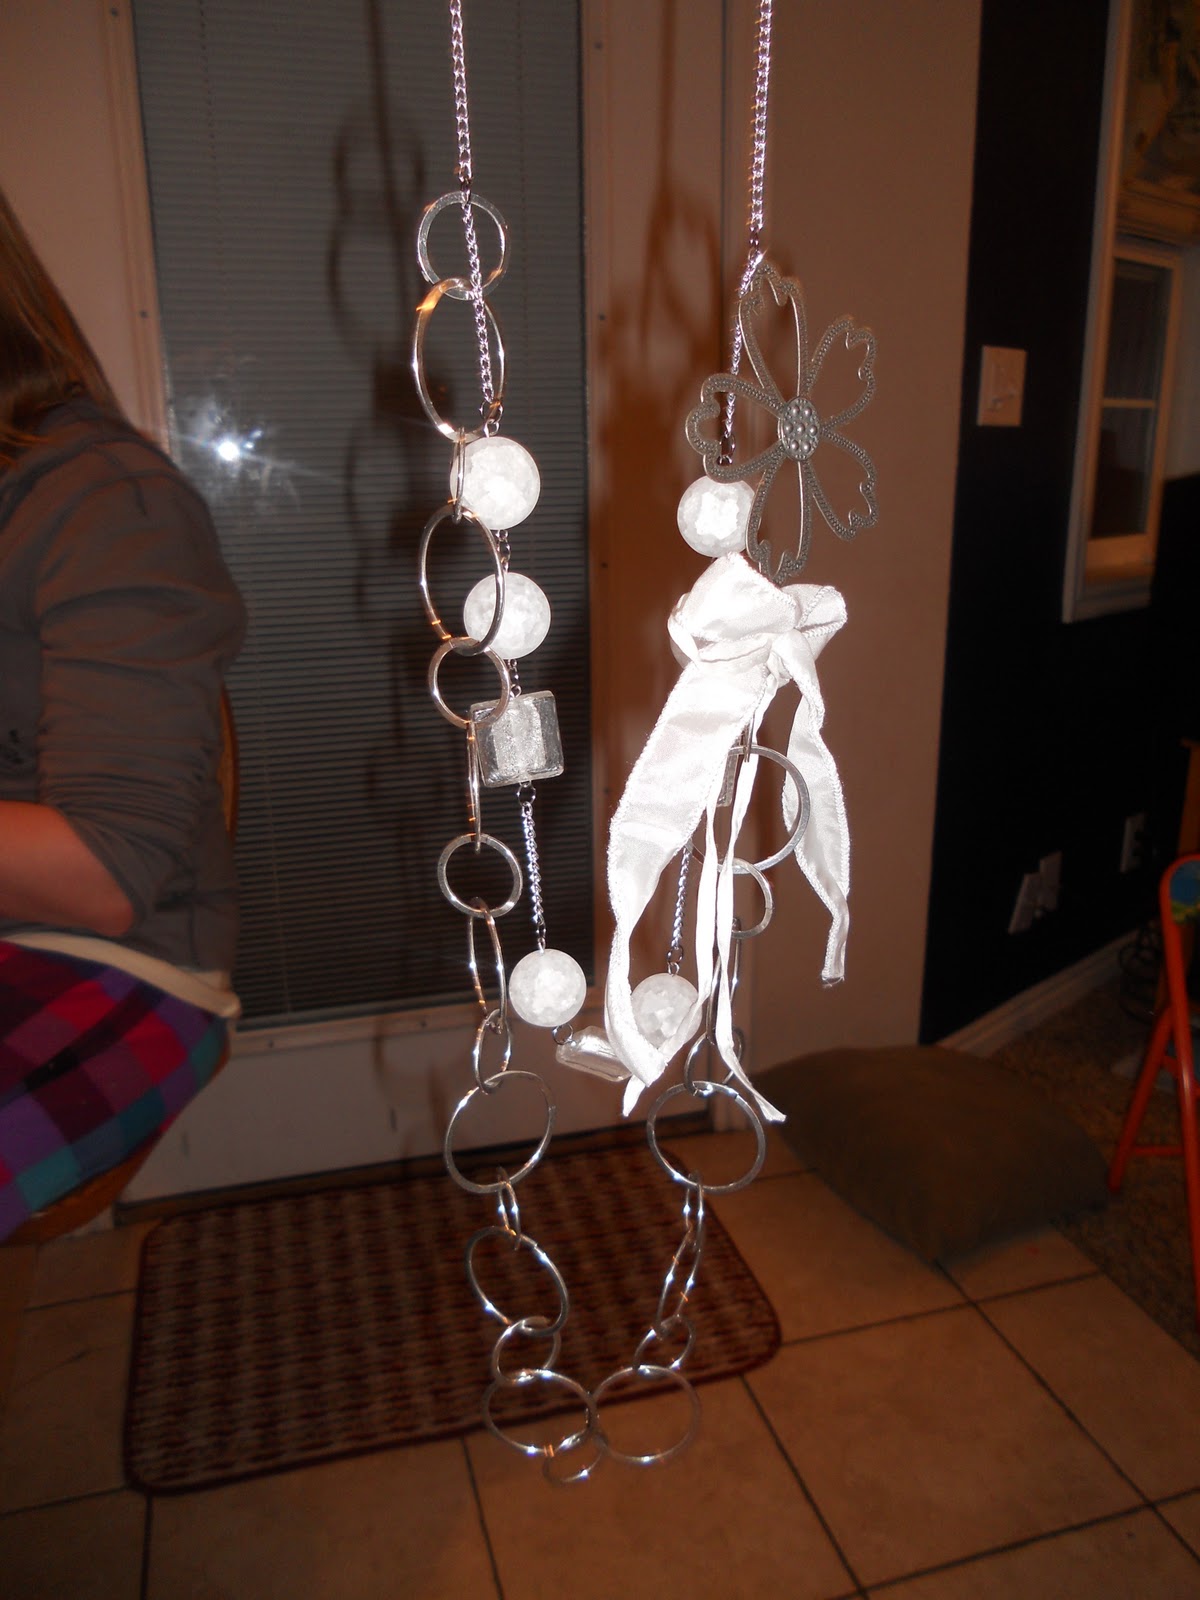
Next I took my medium size chain and measured it so it would fall in-between the two finished chains, and attached it again with split rings.
(That's Ruth trying to get out of the picture in the background. haha!)
And to finish it off I measured one more piece of medium chain to go at the top so it fell the same distance as the middle two and attached it. (Are you confused yet? Don't worry, lots of pictures!)
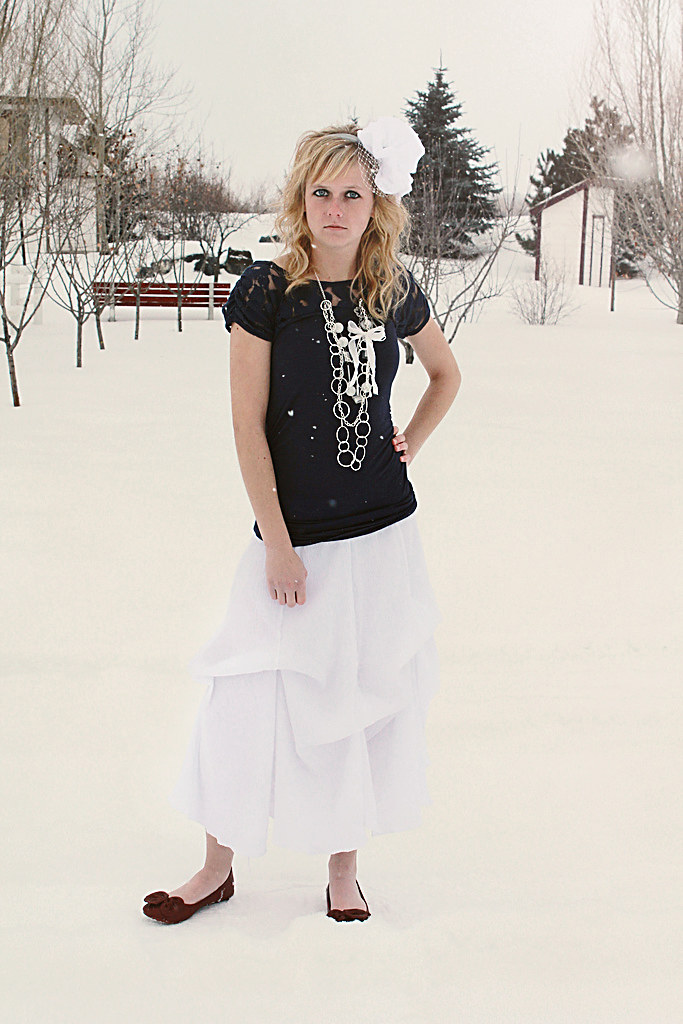
And that's it! I love it. I love me some bold chunky jewelry that just screams, "LOOK AT ME!". I like to dress simply and embellish with jewels and accessories, and this one is just soooo fun, right?

Monday, January 17, 2011

Prairie Princess Skirt Tutorial

Hello hello!! I am so excited to be showing you all my Prairie Princess Skirt today. I'm pretty sure that it is my all-time favorite thing that I've ever made. It is so versitile and light and extremely frou-frou, which is awesome! Lets get this started.

You'll need:
3 yard of cotton gauze (I found mine at Joanns)
2 inch elastic(enough to fit around your waist, plus an inch)
32 6-in pieces of ribbon or some other kind of tie
freezer paper

First step is to cut out a triangle shape from your freezer paper with a flat top and rounded bottom. My length from top to bottom was roughly 42 inches and the width at the bottom was the width of the freezer paper and the top was approximately 5 inches.

Now lay out the gauze on a flat surface and iron the freezer paper onto the fabric. Make sure that the fabric is turned so that the lines on the gauze will be vertical.

Now cut out around the pattern. Repeat these steps for a total of 8 panels.

Next step is to begin sewing the panels together from top to bottom. I serged mine, but feel free to use a regular sewing machine if that's all you have.

Sew all all of the panels together but do not close the skirt. It should look like this:

Now take a tape measurer and measure from the top of the skirt down 41 inches and pin that length all the way around.

Now attach the last two panels to get the skirts shape and then I used my serger to go around and finish the bottom of the skirt and cut off the excess fabric in one step. If you don't have a serger, simply cut off the excess fabric and do a rolled hem on the bottom.

Now we'll prepare the elastic. I used Dana of MADE's method of sewing and attaching the elastic for her circle skirt and you can find it here.

Then if you have a serger go ahead and finish the top of the skirt.

And attach the elastic to the skirt. It should look like this:

Ok now this is the fun part. Turn your skirt inside out and we'll start pinning where we want the ribbon. Place a tape measurer at the seam on the elastic and starting on the front middle seam place a pin at 8in, 15in, 17in, and 24in.

Move to the next seam and this time you will move the tape measurer up 4 inches and then again pin at 8, 15, 17, and 24.

Alternate the 4 inches up and down the rest of the seams, so every other seam is going to have the ribbons 4 inches higher. Sew the ribbons or ties at each pin with a sewing machine.

It will look like this with all of the ties sewn on:

Now start tying the ribbons together.

By tying each set of ribbons on each seam you get the "All Tied Up" look:

By tying the the highest top set of ribbons and the lowest bottom set of ribons to get "Highs and Lows":

Undo all ties for the look "Let It All Out":

And tie the lowest top set and the highest bottom set for "Caught in the Middle":

So what do you think? And what other looks can you come up with?


Thursday, January 13, 2011

Prairie Princess Skirt and Accessories

Hello!! Welcome to Paisley and Me!! We are back and better than ever! We've decided to come back with a bang and I am so excited to announce...


Our entry into


Over the next week we will have the tutorials for the Prairie Princess Skirt, which can be worn in 4 or more different ways...

All Tied Up:

Highs and Lows:

Let It All Out:

And Caught in the Middle:


We'll also be showing how to make the Prairie Princess Headpiece:


So make sure that you stick around. You don't want to miss these!

Friday, December 17, 2010

Dragon

So Carson turned 3 on the 11th. Crazy that he's already three, and at the same time, I can't believe that he's only 3! He decided that he wanted to have a dragon birthday about 6 months ago and never wavered from those plans, so a dragon birthday he had. I need to put up some pics of his party but for now I just wanted to show these 2 pictures that are now a common occurrence at our home.

Fighting Dragons in his sleep :). Love  these boys.