Showing posts with label Hair Things. Show all posts

Monday, January 24, 2011

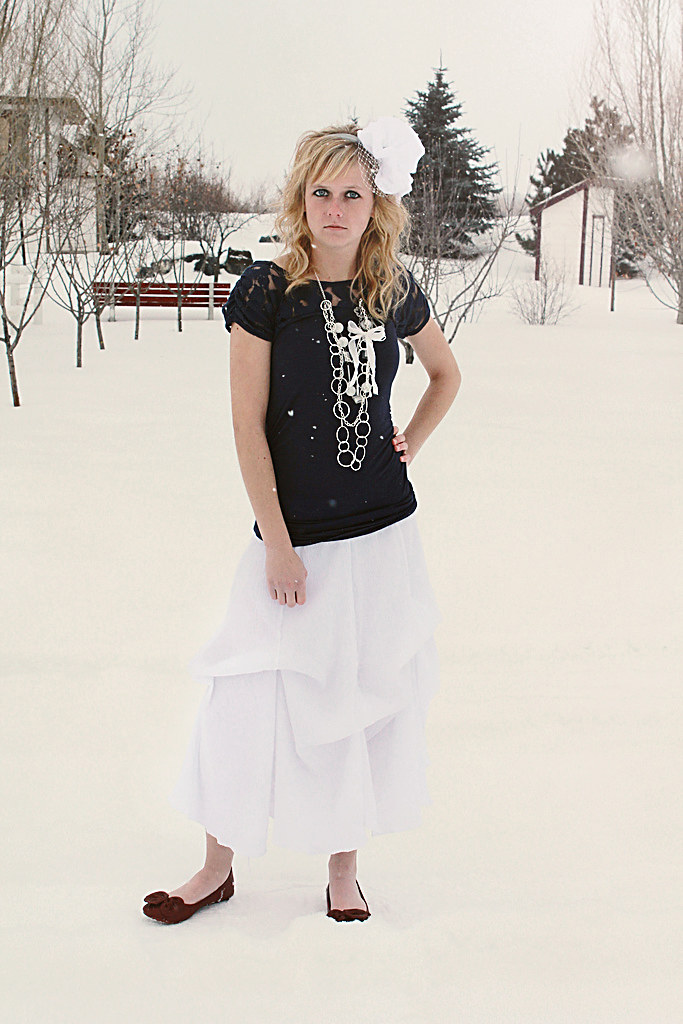
Prairie Princess Headpiece


This was my last little finishing touch for the outfit. This was a pretty simple little project and took about a minute to whip up. I started with a rectangle of left-over fabric from the skirt. Mine was about 6X20", feel free to adjust the size for however large you would like the flower. Fold the rectangle over hamburger way and sew the ends together to form a loop.

Then fold the loop in half hotdog way.

No take a needle and thread and sew a large basting stitch around the open end of the loop.


When you've sewn all the way around pull the thread tight to bunch it into a flower shape.

And sew through the bunched area to secure.

And attach a bling button to the center of the flower.

Now take some Russian netting and cut a piece that is 2" longer and 2" wider than the flower. Find the middle point on the netting and tie a knot on the end of the row.

Then weave back and forth throught the row of netting

and pull the thread taut to bunch the netting.

And sew it down to the bottom middle of the flower.

From there, sew the loose edges down across the flower.

I found this cute little fray of feathers at Michaels for a couple of bucks.

Just hot glue it onto the headpiece, in-between the flower and netting. I also hot glued the button down to secure it.

To finish it off, I just hot glued the entire thing onto a thick headband, and there you go!

**Disclaimer** This headpiece is rather large and would be great for like, a wedding or a special occassion, or a photo prop, but I would probably not wear it to like, Walmart. But I suppose that is the great thing about Walmart, if you felt like wearing it there then I suppose you can, but again, I, personally, wouldn't :)

Thursday, January 13, 2011

Prairie Princess Skirt and Accessories

Hello!! Welcome to Paisley and Me!! We are back and better than ever! We've decided to come back with a bang and I am so excited to announce...


Our entry into


Over the next week we will have the tutorials for the Prairie Princess Skirt, which can be worn in 4 or more different ways...

All Tied Up:

Highs and Lows:

Let It All Out:

And Caught in the Middle:


We'll also be showing how to make the Prairie Princess Headpiece:


So make sure that you stick around. You don't want to miss these!

Wednesday, August 25, 2010

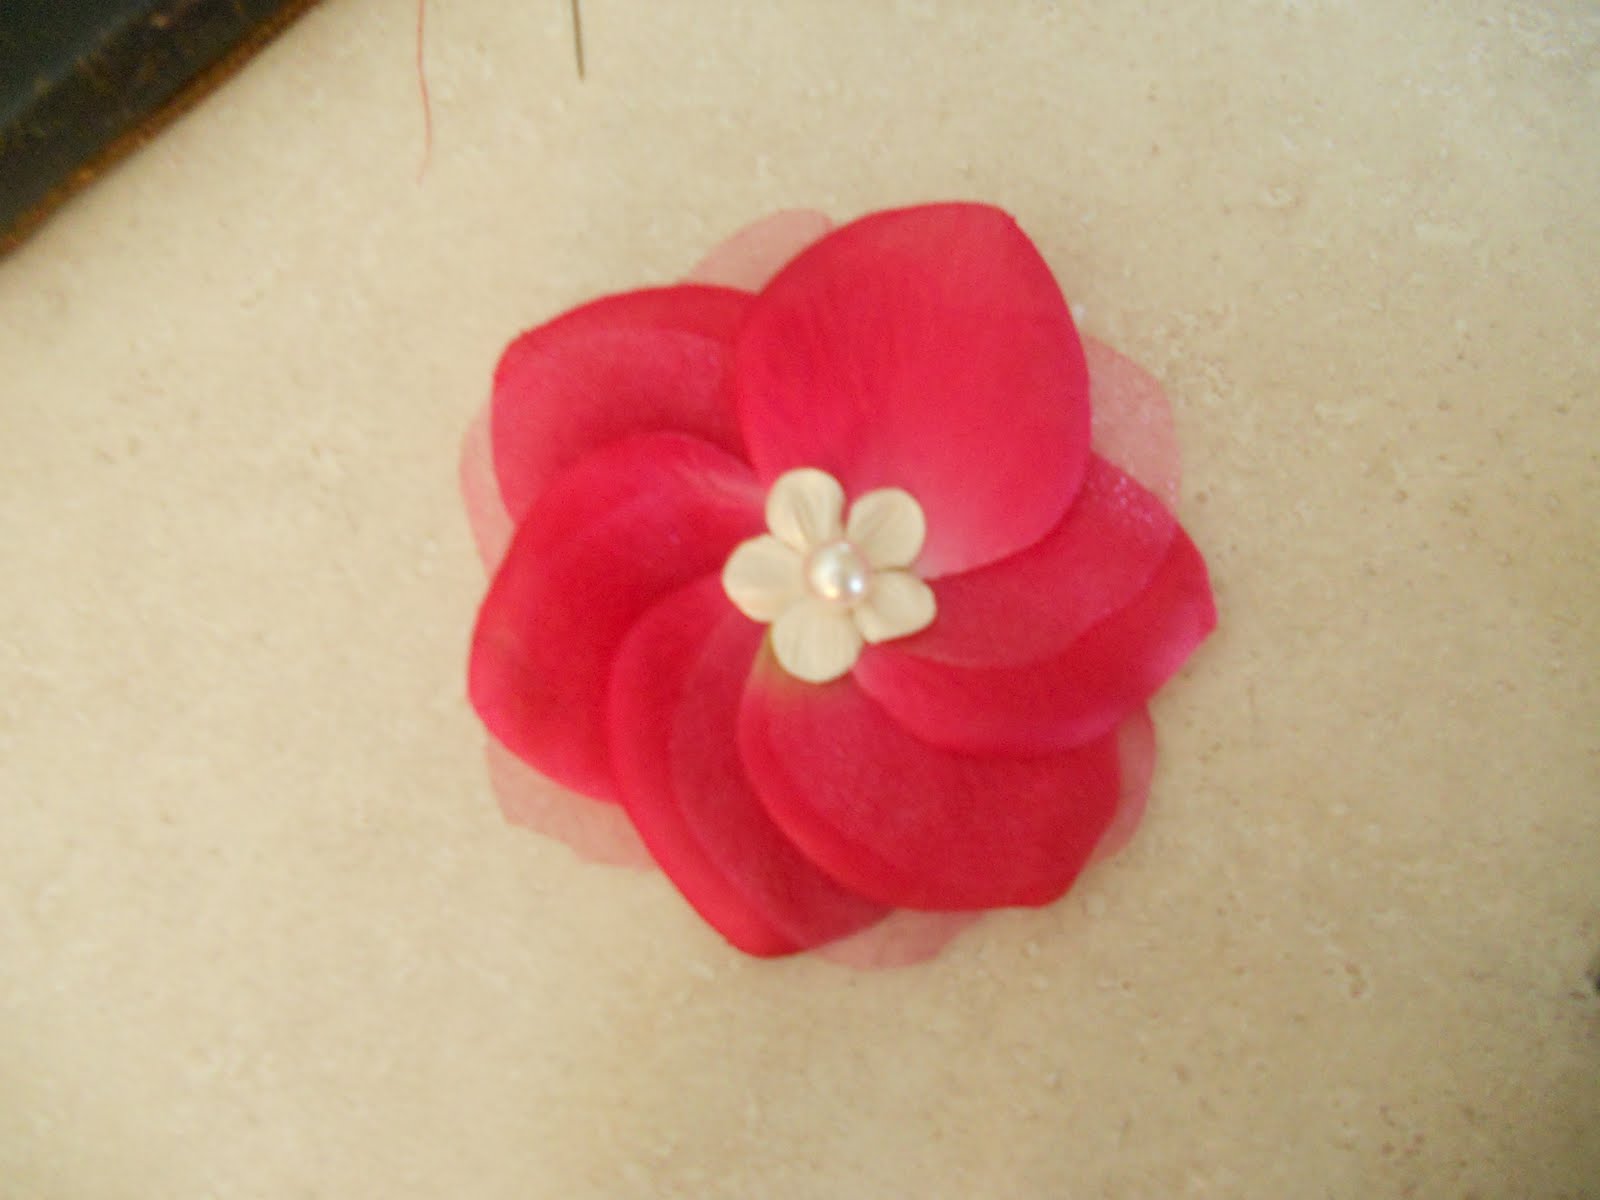
Pretty in Pink Flower

Everyone knows that if you are going to make a Pretty Petal Skirt then you also have to make a Pretty in Pink flower to match. To start I used the left over petals from the skirt. The package of petals (that I got from Joanns) had regular and sheer petals. I used a matching thread and just started threading the petals together through the bottom alternating between the regular and the sheer.
Then once I had all of the petals that I wanted on, I held the center and spread the petals around, making sure that they all showed.
And then continued my stitching in the middle of the flower to hold each of the petals in place.
I then took a little scrapbooking flower that I found and sewed it on to the center of the petals
And then glued a pearl right into the center to hide all of the stitching.
Then attach it to a clip, and whala! Fun, bright, and matchy-matchy. Three of my favorite things :)
And as always we are linked up here!

Friday, July 2, 2010

Ruffle Ribbon Headband

I had this idea for a headband...
Cute, super feminine, and way easy to make. All you need for this little gem is:

A thin headband
Some wide wired ribbon
Matching thread

To start off, bunch up one end of the ribbon and tie a knot around to hold it in place. (I doubled up on the thread so that it would not break when pulled tightly.)
Then take your headband and tie the ribbon on about an inch from the bottom so that the end is facing up. Wrap the thread around a bunch of times for each tie.
Then take the ribbon up about an inch and tie it again, giving the ribbon some bunch in between the two ties.
Then take the ribbon up again, this time make a little more space in between the ties.
Repeat the step again for ruffle number 3, again adding a little more space for a bigger ruffle.
Then do the fourth ribbon, turning the end of the ribbon back in to hide it. Cut off the remaining ribbon.
Now insert your finger into the ruffle and pull up so the ruffles are moving toward the top. (Almost heart shaped.)
And it's done. I love this headband and it looks as cute on adult hair as it does on this lamb.
Gorgeous!
Try it out! 

We are linked up here!

Monday, May 24, 2010

Lace Hair Flowers

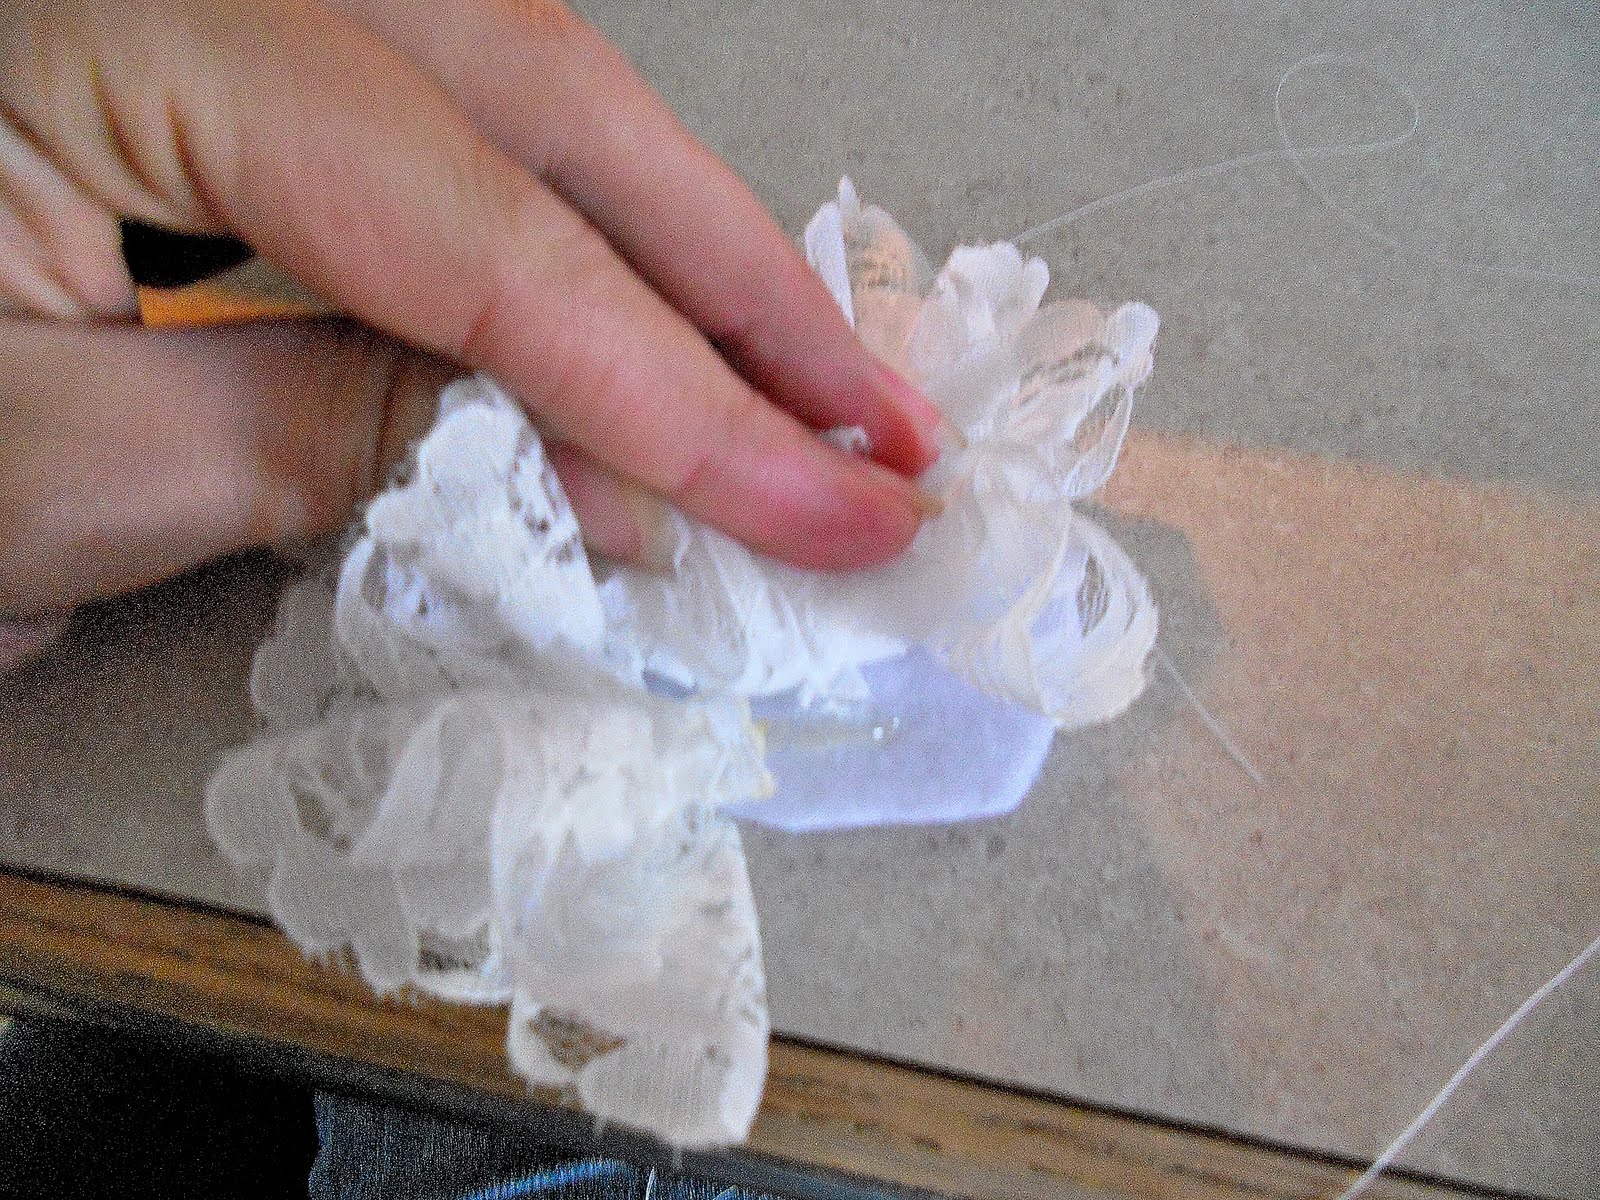
I've been loving the look of lace flowers lately, so I thought I would do a quick little tutorial on how to make a lace hair flower.  The first step is to take your lace and sew a basting stitch (the longest stitch) along the edge of the lace.
Then you want to take the flat thread and hold on to it and pull the lace over to scrunch it up.
Next cut out a circle out of some felt
Now starting in the middle put a hot glue dot down and attach the end of the lace. Now take the lace and wrap it around the end piece, gluing as you go.
Once you finish wrapping it, fluff it up to make a poof or you can flatten it down and glue some beads or a cute flower in the center.  Then you want to attach it to a hair clip. I usually use ribbon and just glue it right to the clip, but I recently saw an idea on V and Co. to make them interchangeable and did that instead. You can do whichever way you prefer, and can find that tutorial here. Here are a few of my finished project. I love them, they are so girly! (Sorry, I have failed to perfect the "myspace pic". Bummer I know).

Make sure that you check out the linky parties here!