Showing posts with label For Home. Show all posts

Wednesday, January 26, 2011

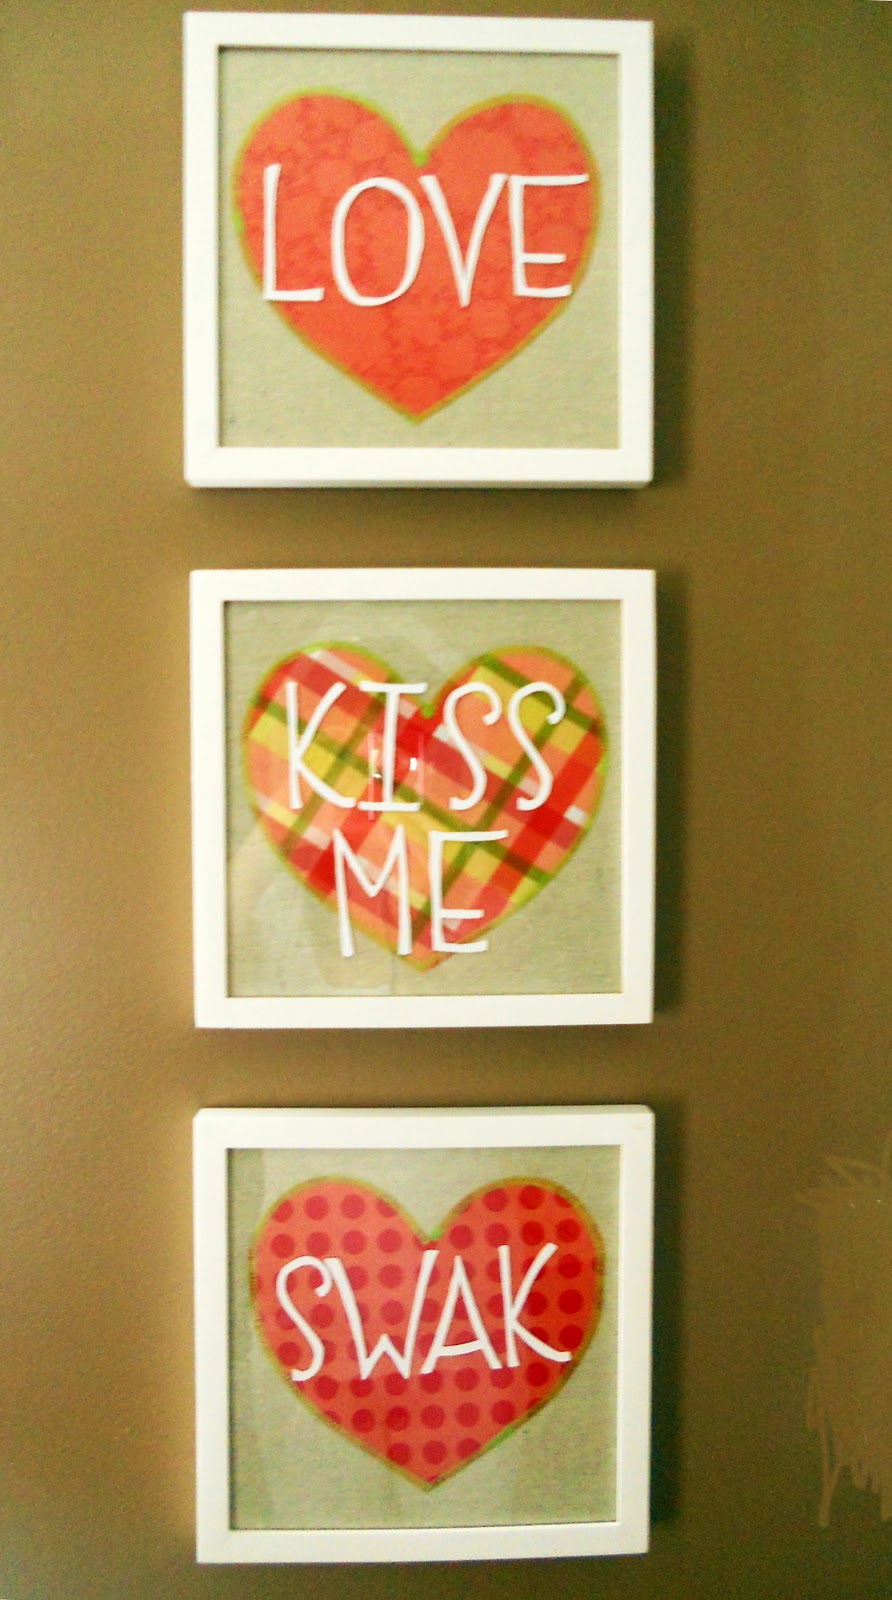
Conversation Heart Frames

This was a fun little project that I whipped up last night. It's not actually what I was planning on doing (I'll get that one up later) but this idea popped into my head and I just had to get them done! Welcome to the

Conversation Heart Frames
{for V-Day}

So to start out, cut a heart pattern out of some card stock (easy-peasy)

Next take 3 different fabrics and cut squares large enough to fit your heart. Apply some Heat-n-Bond to the wrong side of all pieces.

Now flip those babies over and trace your heart pattern onto the back

and cut the suckers out.

Next I cut off a long strip of a canvas drop cloth and ironed the hearts onto it in a row, leaving enough space in between each heart that I can cut them apart and fit them into an 8x8 frame.

Then cut in between each one and sew the hearts down. I did a zig-zag stitch at less than a 1 length and at a 5 width and went all the way around each one.

Then I took my 8x8 frames, taped the canvases down around the cardboard on the inside and placed them inside.

When that was done, I cut out the words SWAK, LOVE, and KISS ME out of vinyl and applied them to the glass on the outside of the frame and that is it!

Super easy, and a really cute, fun, Valentines decoration that you can vary to fit any scheme you want!

Wednesday, September 15, 2010

Picture Plaques with Mod Podge Dimensional Magic + Giveaway

So I have one more fun project for you, this time showing how you can use Mod Podge Dimensional Magic as an accent to your project to add a lot of personality and help bring out those little details that we all work so hard on. These are just some cute little picture plaques that I made up for a craft at a recent family reunion. And do you know what? Everyone loved the Dimensional Magic, from a 10 year old cousin to 50+ year old aunt. It's just so easy to use!

To start this project off I cut out an 8x8" piece of 1/4" thick wood.
-Here's a tip, go to your local hardware store to find wood for projects like this. Craft stores mark their prices WAY up because they are for crafts, and you can usually get a lot more product for a lot cheaper at your local Home Depot, Ace Hardware, or Lowe's-
I painted down a thin layer of Mod Podge
And then added some scrapbook paper over the top. I recommend laying your paper out how you want it before you start going all crazy with the Mod Podge, I just didn't get a picture of this step... And then paint on another layer of Mod Podge over the top to seal it. I suggest using the gloss Mod Podge to seal the paper down, I just love the finished look that it gives.
Next step, after your Mod Podge has dried completely, is to add some embellishments. Flowers, pearls, ribbons, you can use anything that you have laying around, and hot glue them onto your board.
Next I drilled a hole in each of the top 2 corners and threaded some sturdy wire through and looped it. This make the plaque easy to hang and it just cute.
Then I selected the picture that I wanted for my plaque and pinned it in place with 2 thumbtacks. I put a tiny dab of Mod Podge on the tack and added a little matching circle of paper to the top of each one.
And applied my Dimensional Magic to each one and allowed them to dry. (For tips on using Mod Podge Dimensional Magic, check out our last post for the Mod Podge Dimensional Magic Dog Tags)
It added so much character to the plaques and helped pull out a lot of the colors of the project and just added some additional visual interest.
I just loved that there are so many different things that you can do with this project, and capture just about any kind of personality with it!

So are you worried that you aren't going to win the Dimensional Magic from our last giveaway. Well Mod Podge Amy has been so generous as to allow us to do a SECOND giveaway of the Dimensional Magic. I know, she does rock. And what do you need to do? Simply leave a comment telling us why you are so desperate to get Mod Podge Dimensional Magic that you simply must enter another giveaway for it!


GOOD LUCK!
Giveaway closes on Sunday 9/19 at midnight MST and the winner will also be announced the following Monday!

Friday, September 10, 2010

The Collage Desk

My hubby just got back from his 3 weeks of being gone with the army. Can I tell you that that was the longest 3 weeks ever?!! I think that I've mentioned before that I like to redecorate my house while he's gone to keep my self busy. Well this time there was not to much redecoration going on. I was busy organizing. Organizing and organizing and organizing. Holy Cow does my house look good right now. I even spent more than 5 minutes down in my creepy basement and got all of the trash thrown out, shelves put up, and crap put away where it is actually accesable. Crazy, I know! (Side note- Tyler asked me when he saw it if I cleaned up the dead mouse in the corner. I did not see a dead mouse in any corner, and now will probably avoid any more trips in my basement that require more than a run down and right back up. Eww.) But I did one project while he was gone for my laundry room/office and it is this really fun collage desk. I thought I would share it with you all :D 

It started with this. The Carson Anywhere desk that can be located at your local Target. I got this desk because it was about a foot smaller than the desk we did have in our laundry room/office and when you have a laundry room/office, things need to be as small as is usably possible.
 They didn't have the color that I wanted, white, so I took it home, spray painted all of the pieces, and then put the desk together. I definitely recommend painting before assemblage. It's easier to make sure that you don't miss any spots.
Next I got my camera and printed off a bunch of 4x6 snapshots of my family in black and white. Then I measured my desk and cut the pictures down to where they could fit uniformly. Then I laid all of the pictures out on the desk to decide where exactly I wanted to place them. 
Then stack all of the pictures up in the order that you want them and paint on some Mod Podge, laying the pictures down one row at a time.
Once all of the pictures were down I went over it again with some glossy Mod Podge to seal them.
And then let it dry. Don't wory if there are gaps in between some of the pictures. It still looks awesome and adds to the fun of the desk.
Here is a finished view of the top.
I love that I now get to look at these little faces while I'm doing my work!
It's right at home :D

Monday, August 2, 2010

Crate Planter

I think that I've mentioned on here before that I'm not an "outside-working" kinda gal. One bug and I'm done. But, then something happened. I was at a local antique store and I saw this crate. Yep that one pictured below, and I fell in love. It was old and a little beat up and perfect. I decided to make it into a planter for the front of my house!
First thing that I did was I spray painted it with Krylon spray paint in Celery. So loving that color BTW.
And then when it dried I sanded down the edges and corners to give it a little distressing. It didn't need too much.
Next I used a Minwax stain in Dark Walnut and used a foam brush to cover the entire crate. I left it on for about 5 minutes and then used a wet cloth to wipe off the excess stain, and then sanded it a bit more to lighten up the color.
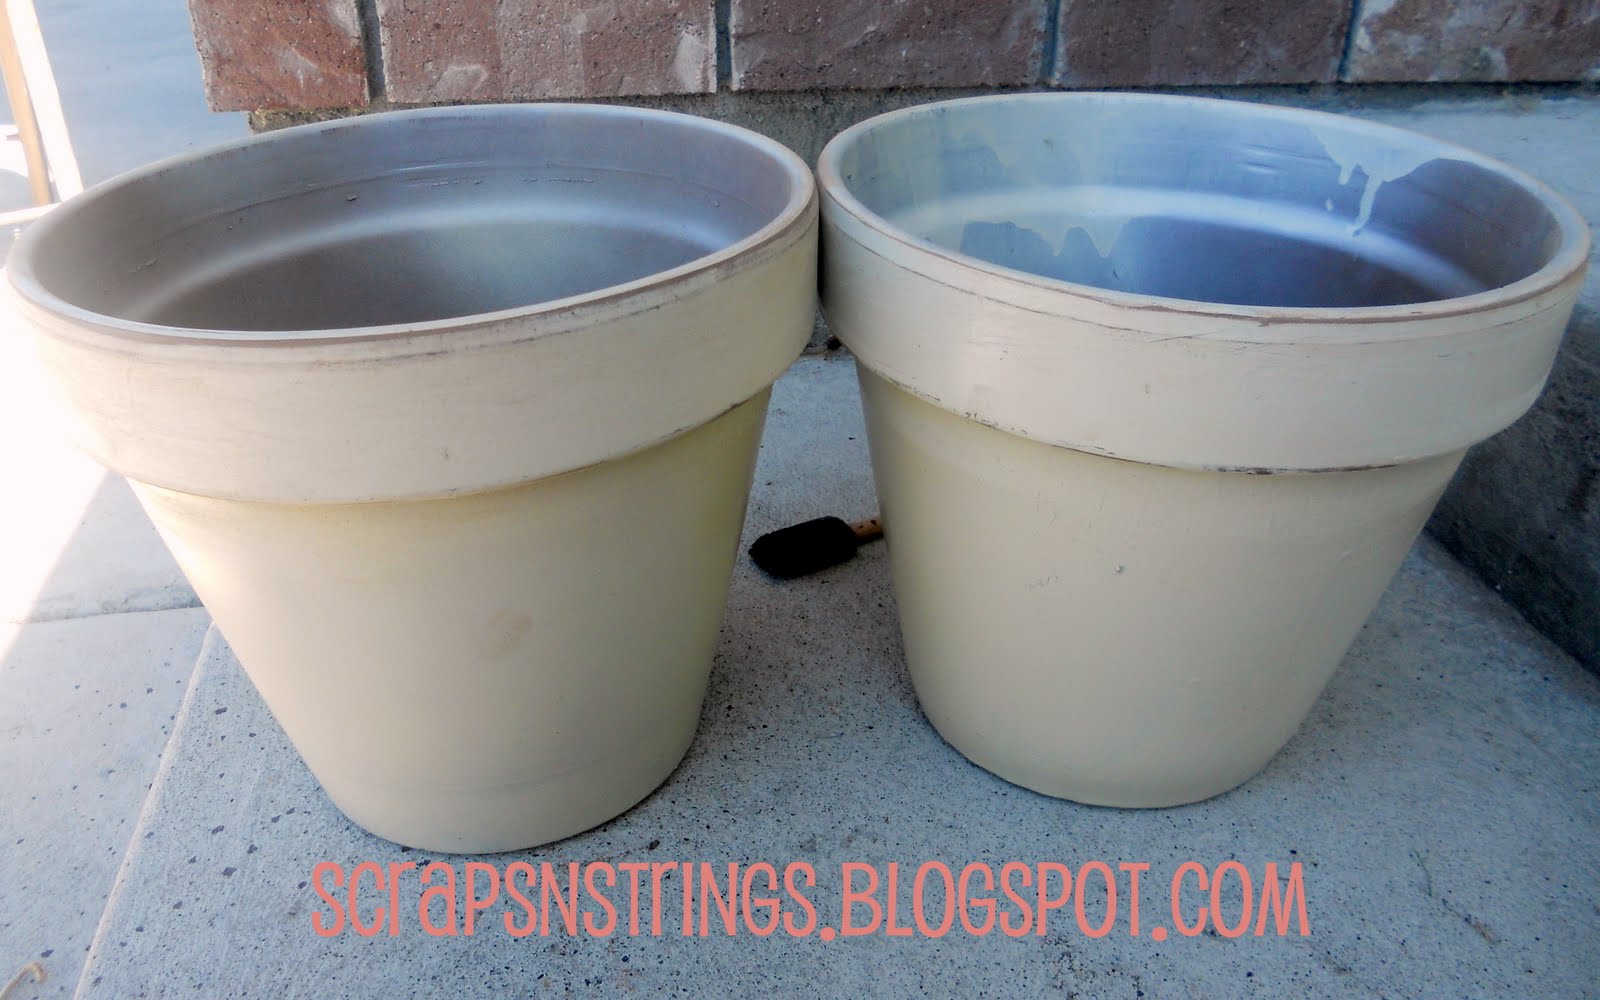
I then bought 2 terra cotta pots in a brown color and spray painted them with Krylon in an Almond color.
and then sanded around all of the edges so that the brown would show through.
I then filled each about 1/3 of the way up with potting soil
and planted some day lillies in each pot, filling in the open space with more potting soil.
Next I cut a 2X4 into four pieces and laid them in the bottom of my crate to give my pots a little lift so that they showed better.
And then placed each pot in the crate!
It's even better than I pictured in my head, but I'll admit, I didn't picture much. Like I said, plants and outdoors aren't really my thing. I know that this doesn't really count as working outdoors, but it's truly as close as I get :D
And the flowers started blooming today! Hooray!

View the Linky Parties we participate in here.

Monday, April 26, 2010

Hey Jute

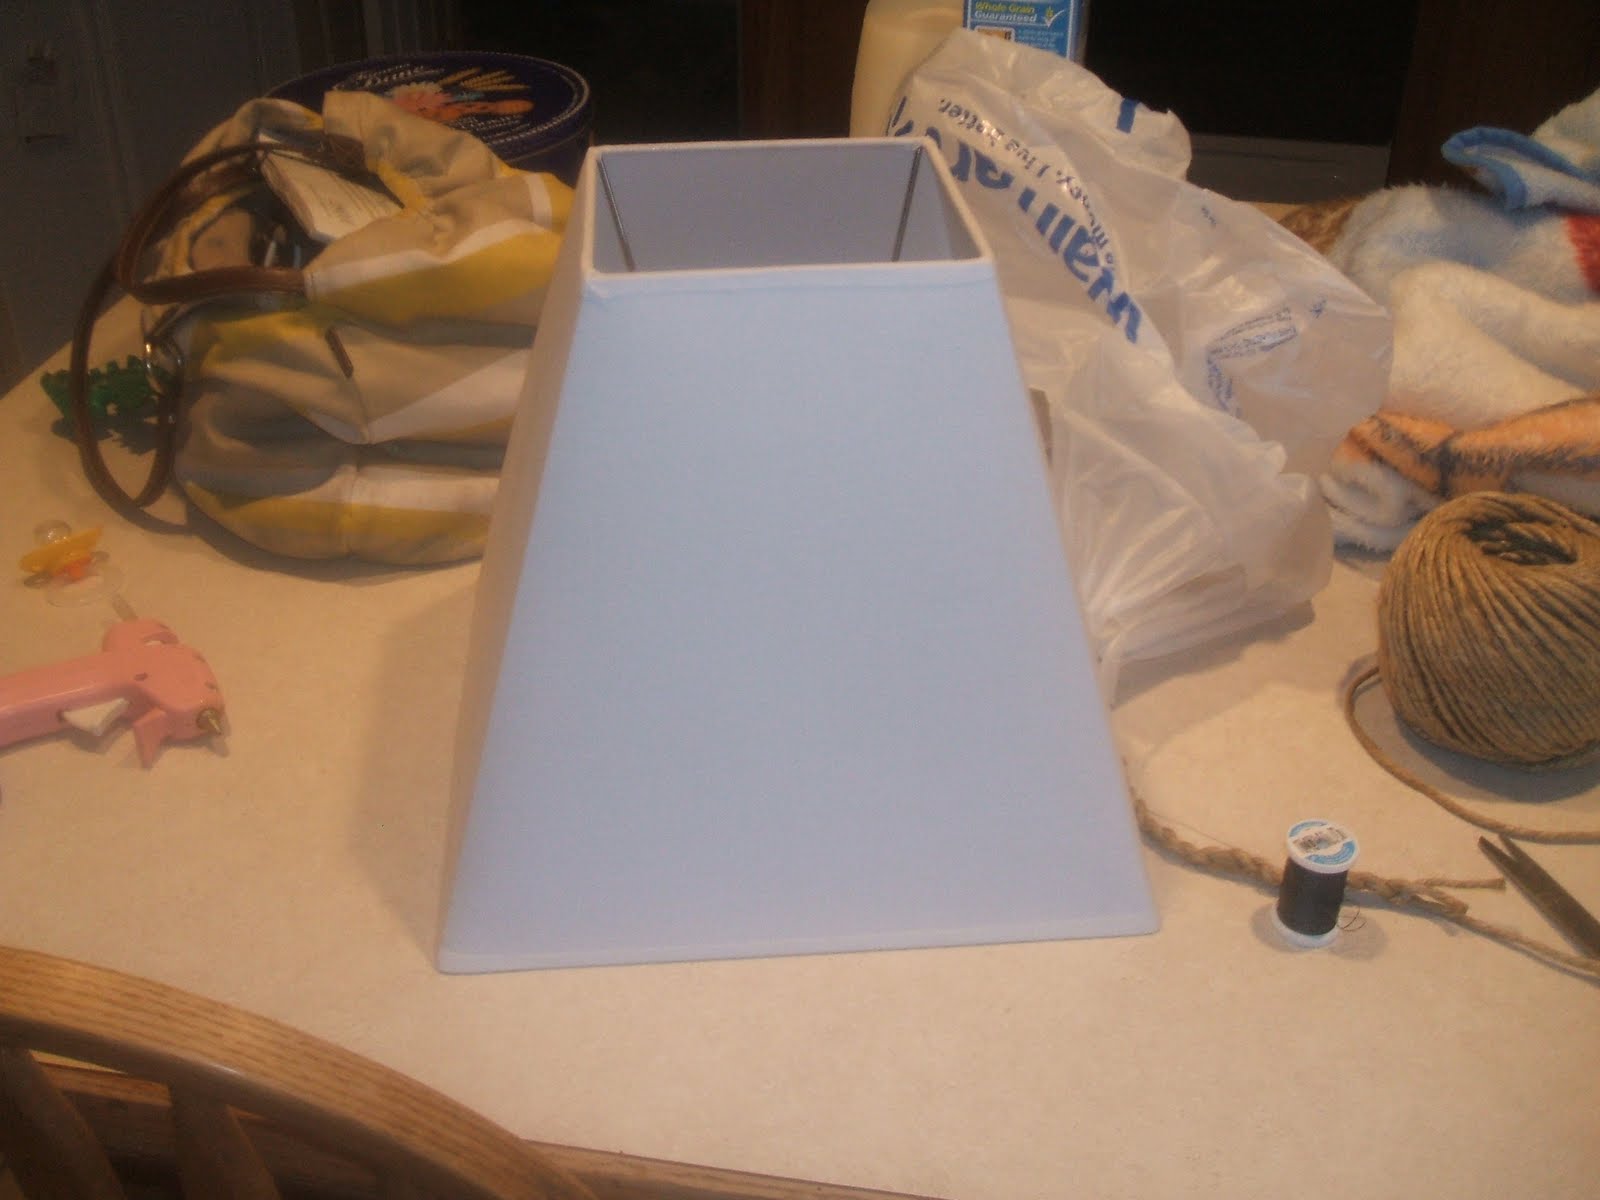
So I had this plain old boring lamp shade in my living room...
I know, right?
So I needed some inspiration and found this super cute lamp shade at PB
Simple, pretty, and I thought (enthusiastically to myself), "Sammy, you could totally do that!" And so then I did, kind of. I have to admit, though, I like mine better :D

To start out I took a ball of Jute and started by wrapping once around the top of the lamp shade and hot gluing it in place. Then I braided three strands together and glued that underneath the first piece of jute. I then used a single strand again and wrapped it around four times, making sure to glue it all in place, and then did one more braid underneath that.
Then I went to the bottom of the shade and did the same thing working my way up the lampshade, so the top and the bottom are opposite patterns. Make sense? You can probably make more sense from the picture. Also, an easy way I found to do the braids was to tie the ends of the jute with a piece of thread and hot glue it to the lamp shade, then braid and hot glue as you go along.
And when it's done it looks a little something like this...
Well, it was done for a second. But then I thought that it needed a little something extra. So I did this...
Just glued some pieces of jute in petal shapes (except I didn't glue down the top of the top petal onto the jute. I thought it was cute that way), and did a little swirly right in the middle. And I love this...

You can find all of the places we link up to here. Go check them out. They Rock!