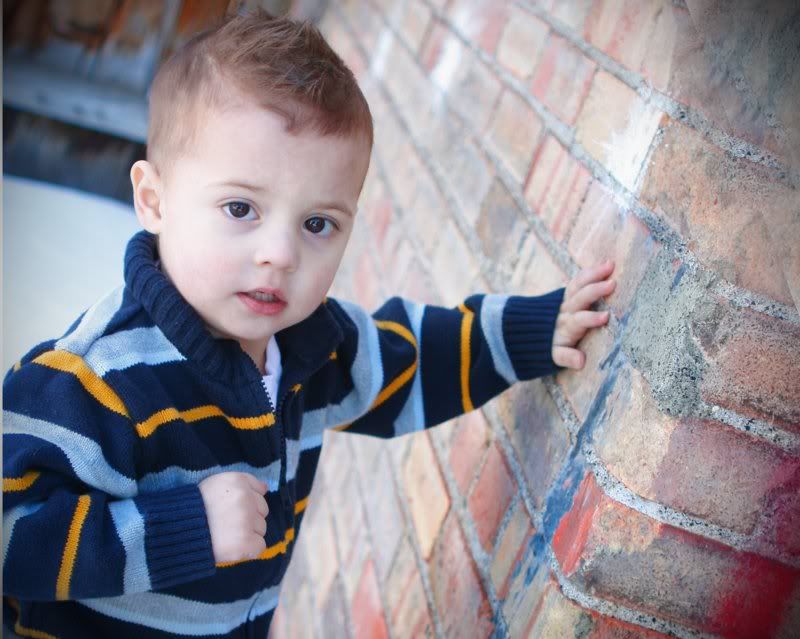
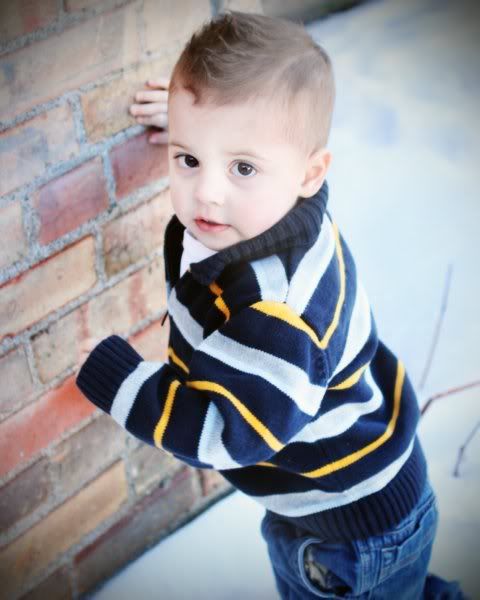
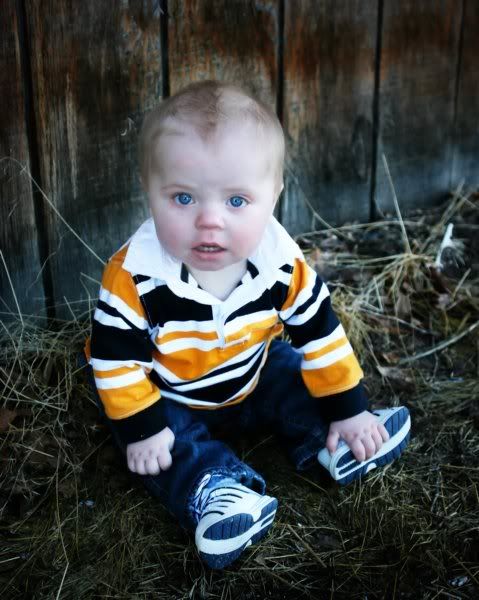
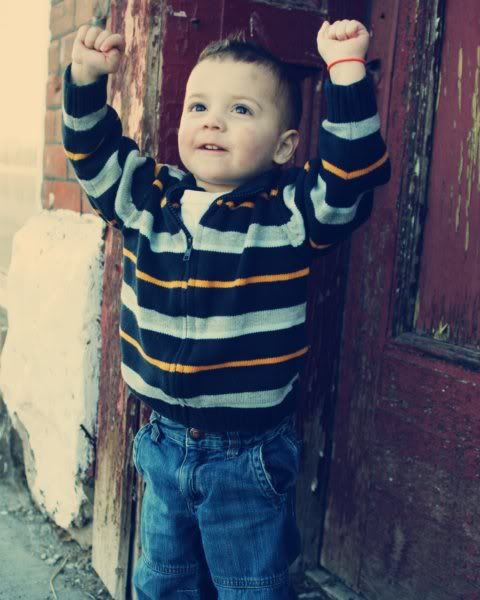
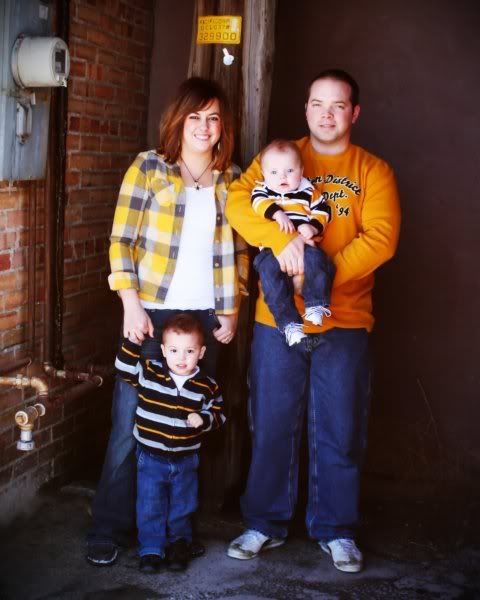
Ruth took some family pics for us a couple weeks ago. I can't wait until it's warmer to go take some more!
Sunday, March 7, 2010
Wednesday, March 3, 2010
Jewels Hooks
So I had a little problem...
Ok, so I had a huge problem!!
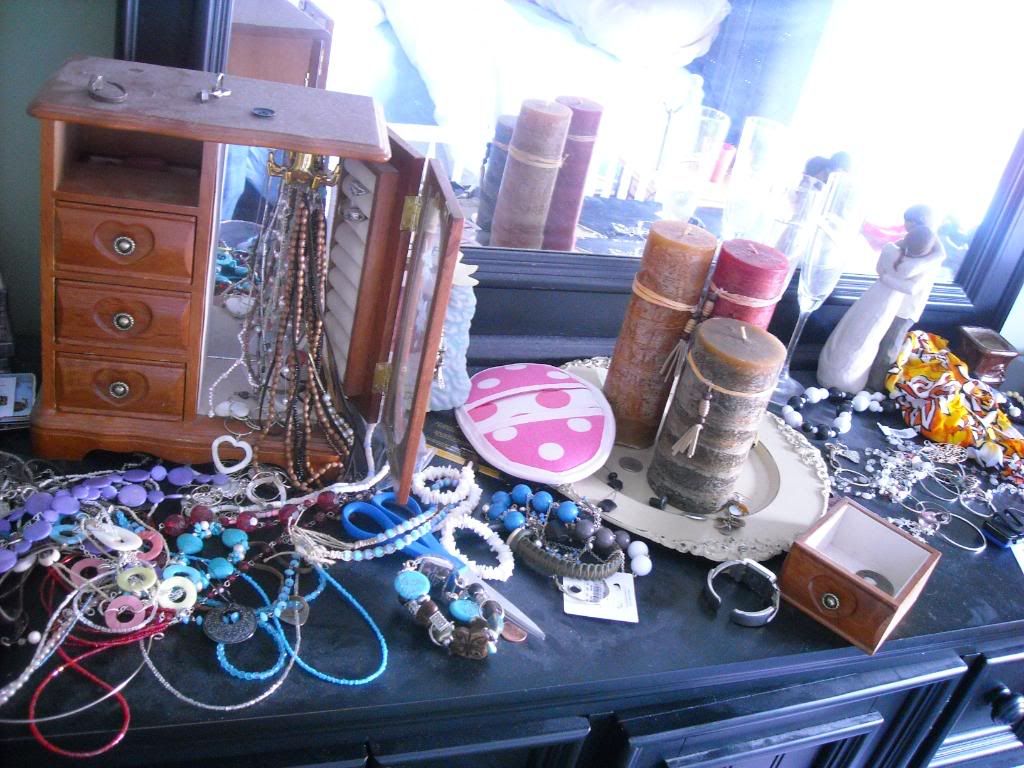
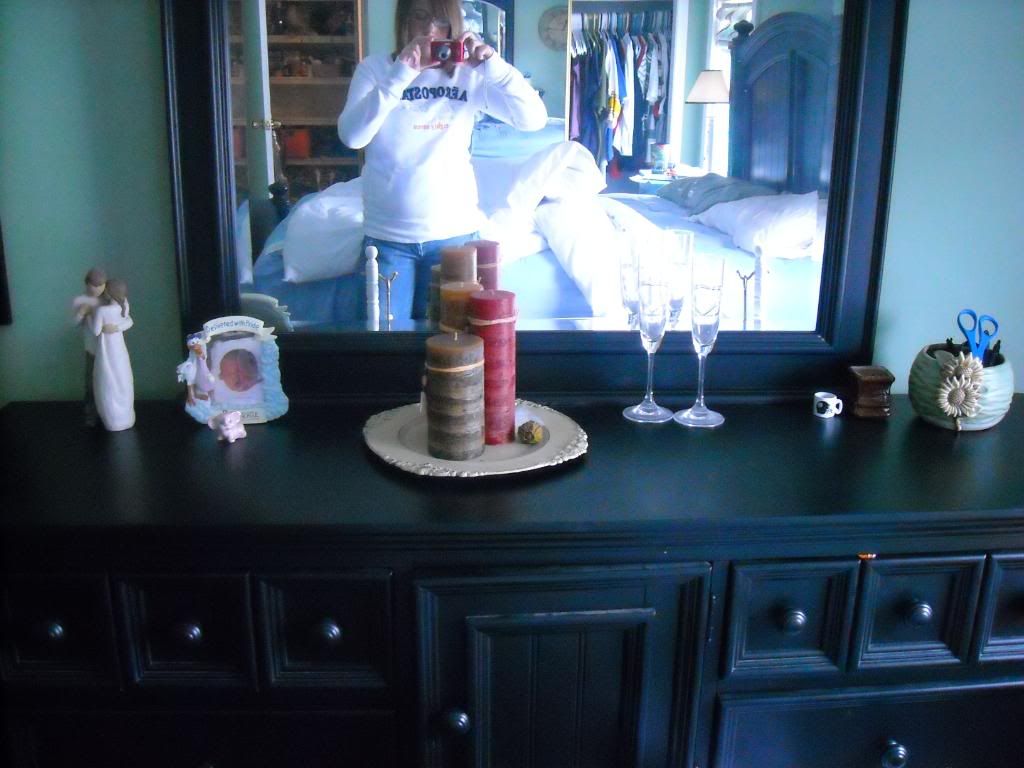
My name is Sammy, and I have an addiction. I LOVE jewels. All kinds. I buy them and buy them and buy them, and I have absolutely nowhere to keep them. I would rearrange them about once a month, and in about, oh, give or take a day, my dresser would go right back to looking like this.
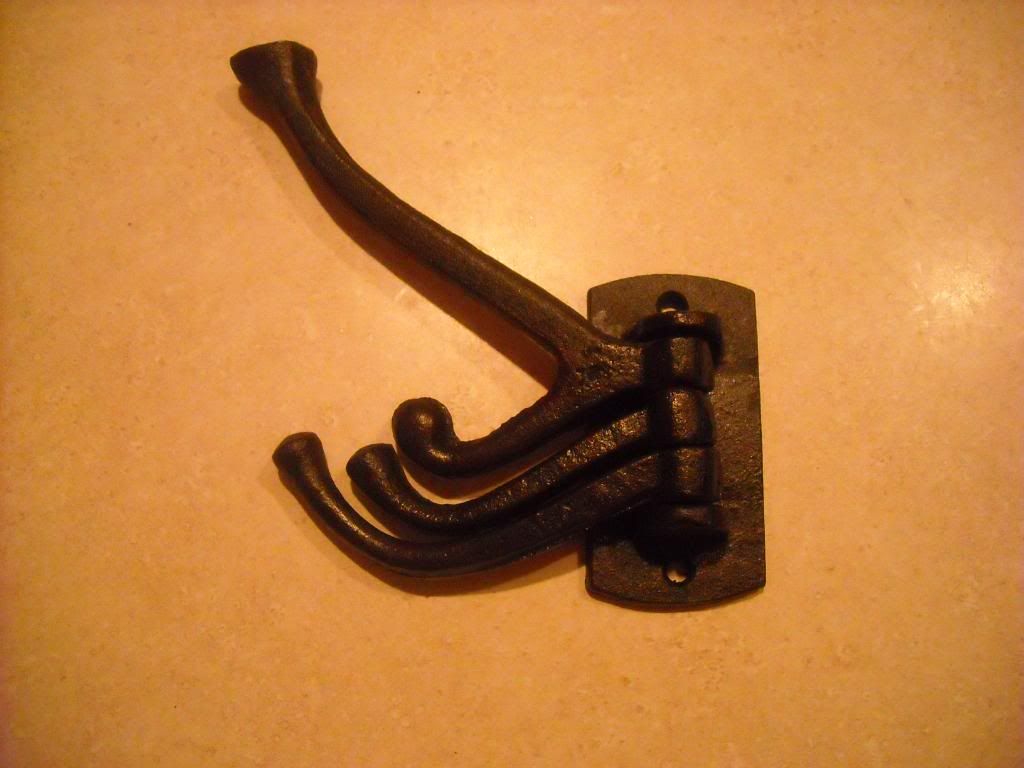
SO! I went out to Porter's and got me some jewels hooks.
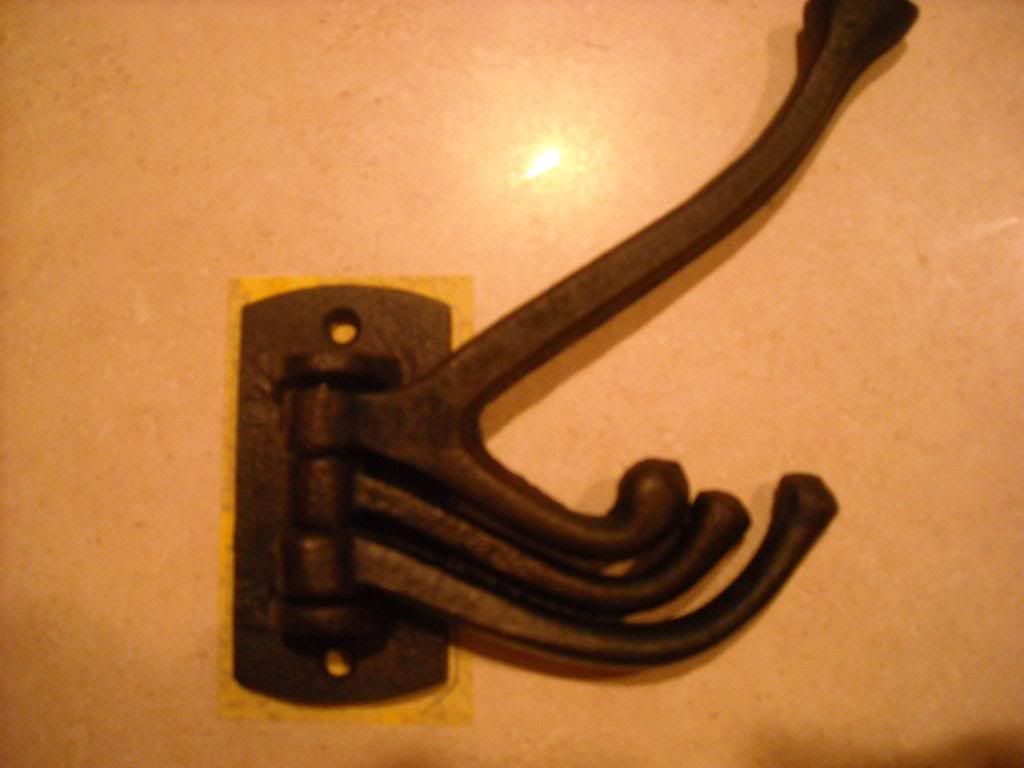
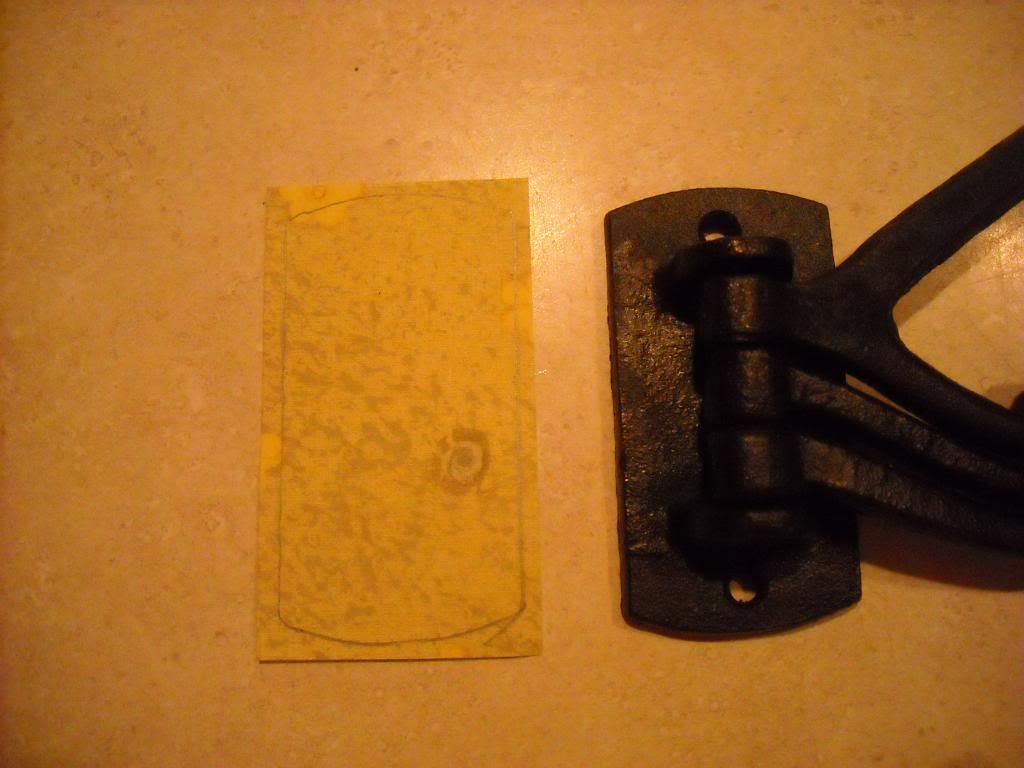
But they were SOOOO boring. So I decided to dress them up a bit. First thing I did was get some cute scrapbook paper. I laid the hook on the paper and traced around the outside.
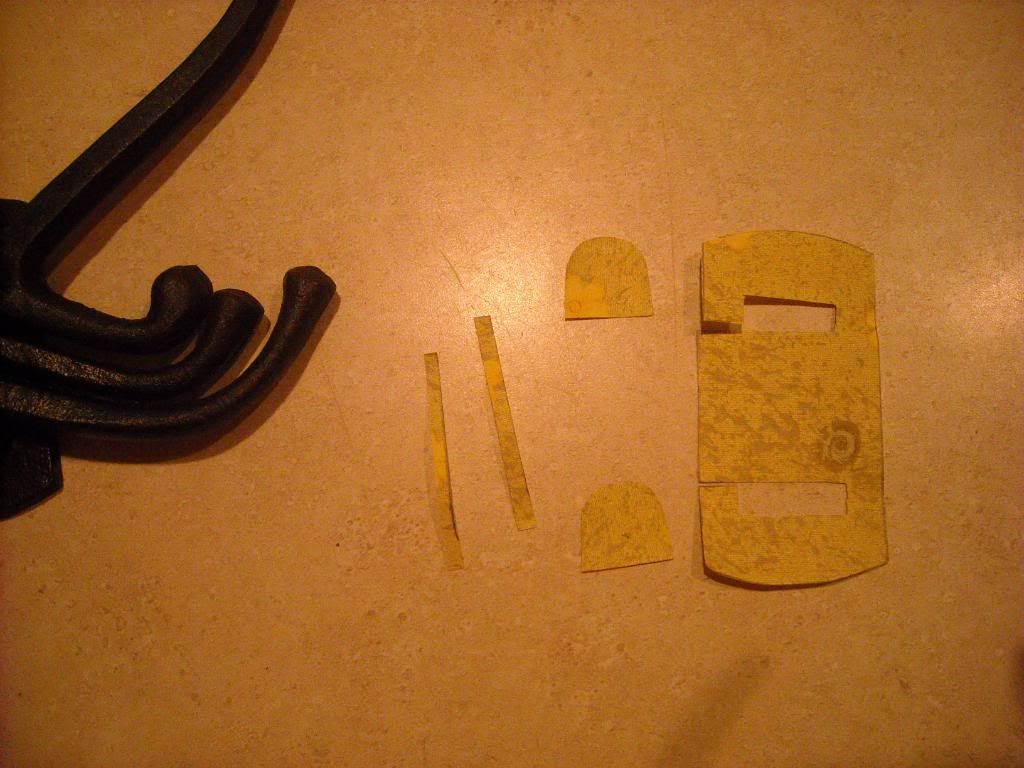
Now just cut around the edges. You'll need to cut pieces out to fit the paper on to the top and the edges of the hinges.
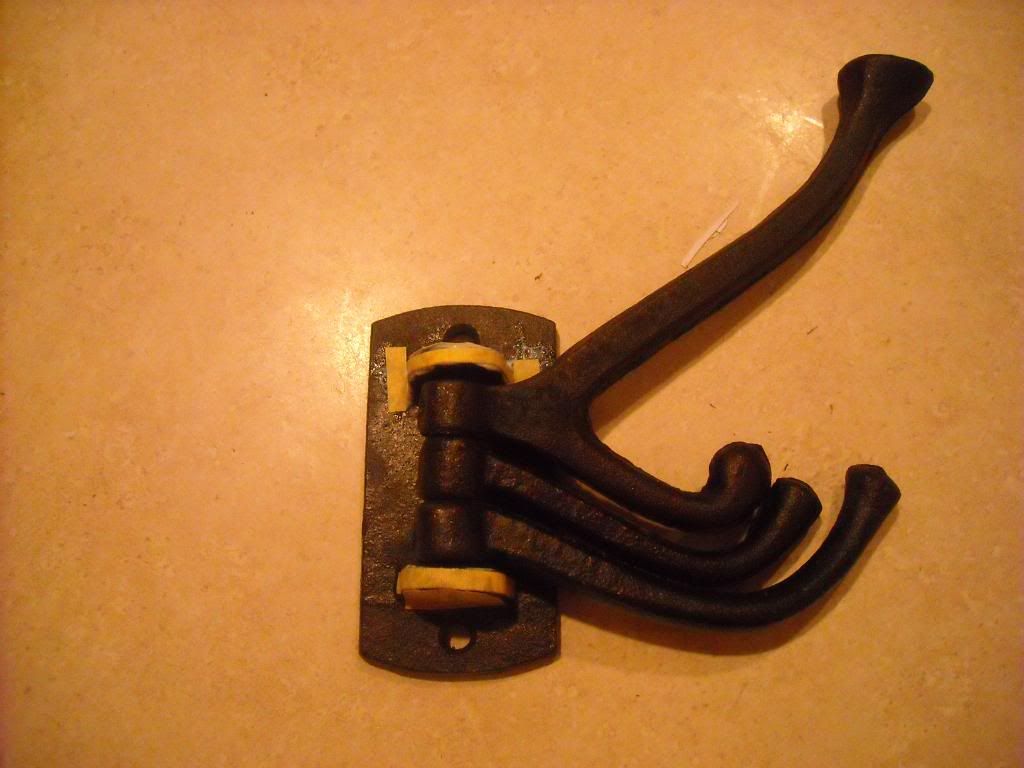
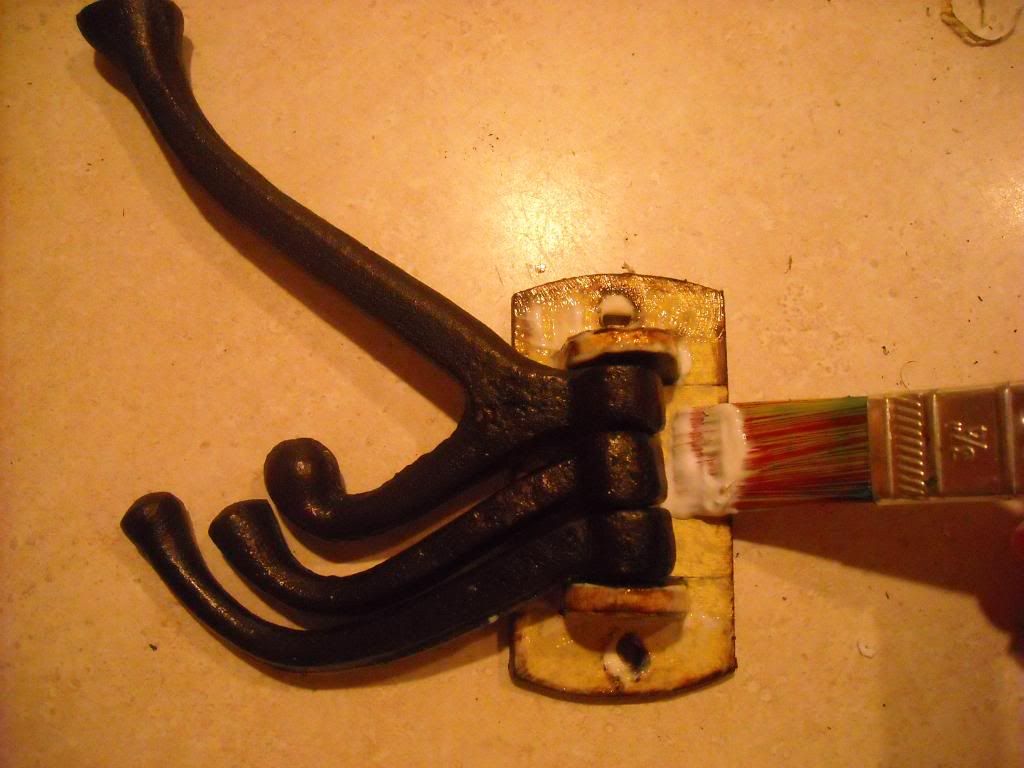
Next start layering on the paper. First paint on a layer of the gloss mod podge and lay the paper over the top, making sure to get all of the bubbles out.
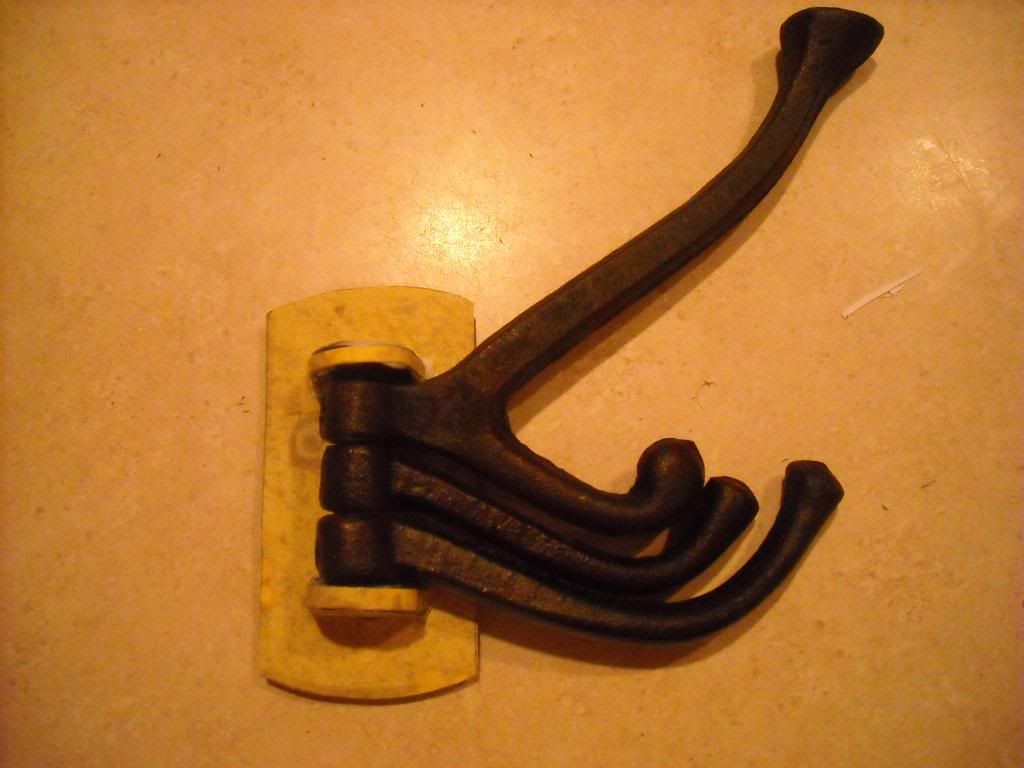
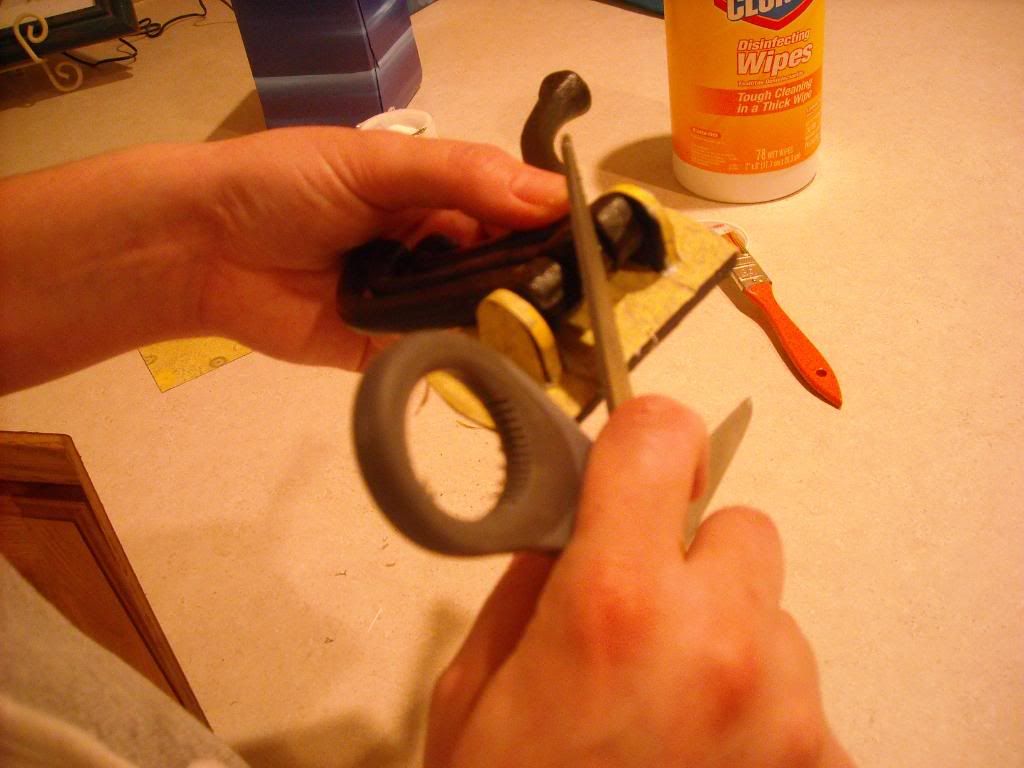
Now take a pair of scissors and scrape around all of the edges to help fit the paper more exactly to the hook. If the paper tears a little bit, don't worry about it, it will look good. Make sure that you poke out the holes for the screws too.
Now I took my distress ink (I absolutely HEART this stuff and went and bought some in every color available!!) in "walnut stain", rubbed a paper towel on it, and rubbed around all edges of the hooks and hinges.
And cover the entire thing in a good coat of the mod podge.
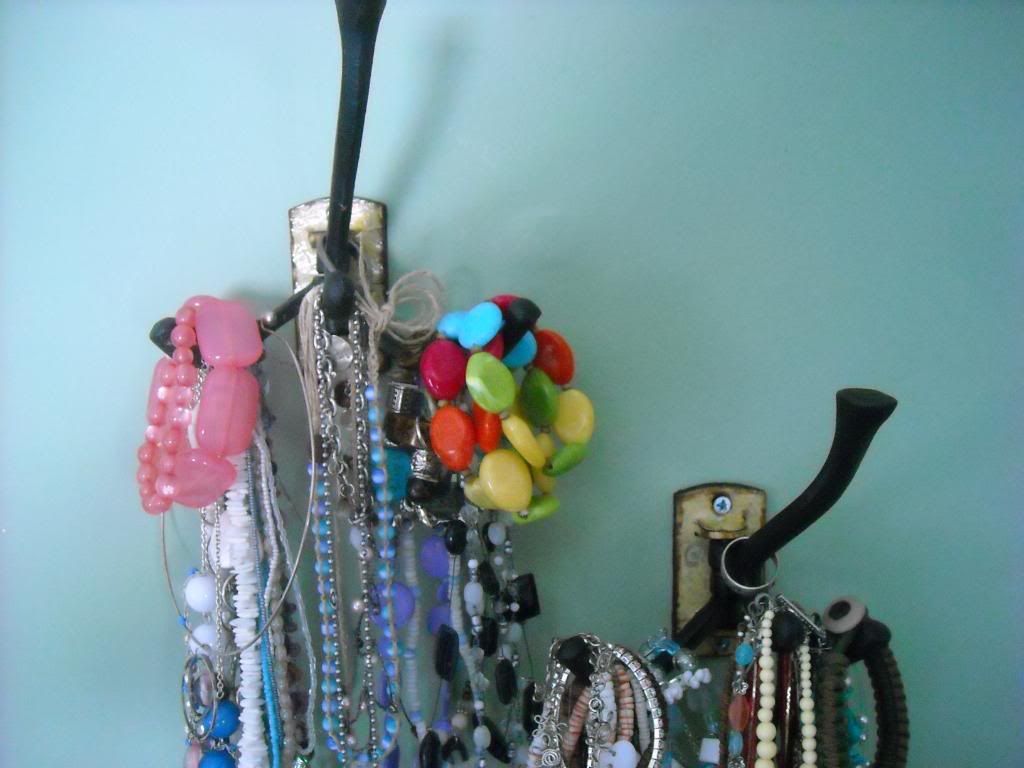
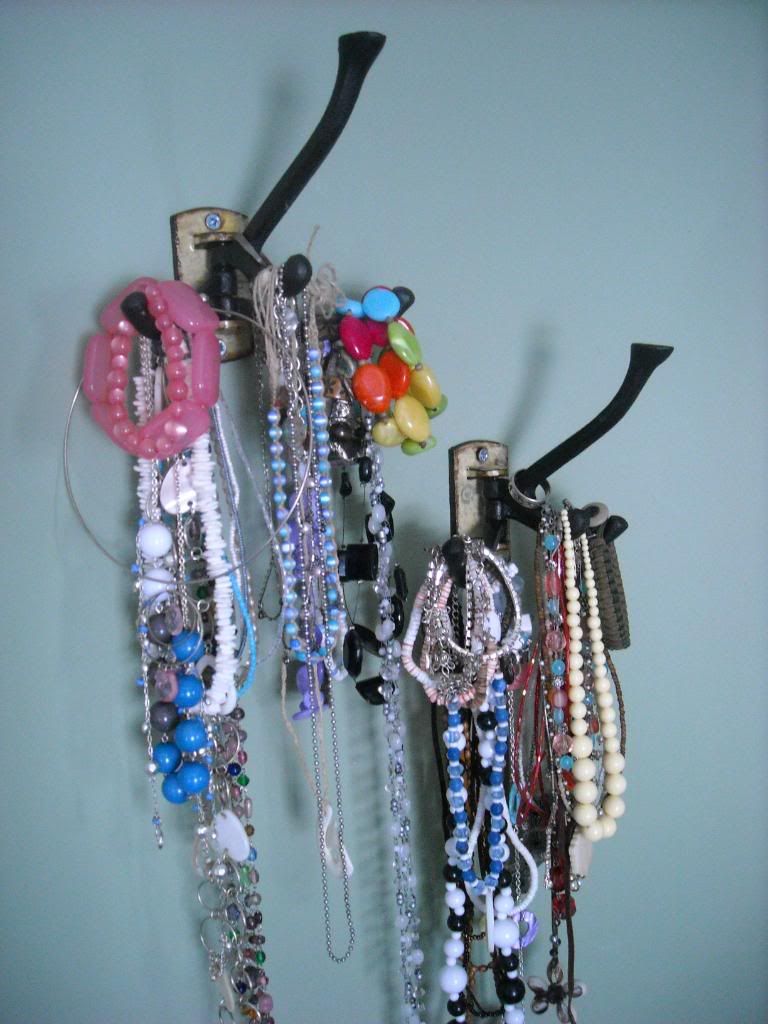
Let them sit until dry, and then screw them into your wall and hang your beautiful jewels on them to display.
So hello, my name is Sammy... and I'm recovering :D, well, at least my dresser is...

Ok, so I had a huge problem!!
My name is Sammy, and I have an addiction. I LOVE jewels. All kinds. I buy them and buy them and buy them, and I have absolutely nowhere to keep them. I would rearrange them about once a month, and in about, oh, give or take a day, my dresser would go right back to looking like this.
SO! I went out to Porter's and got me some jewels hooks.
But they were SOOOO boring. So I decided to dress them up a bit. First thing I did was get some cute scrapbook paper. I laid the hook on the paper and traced around the outside.
Now just cut around the edges. You'll need to cut pieces out to fit the paper on to the top and the edges of the hinges.
Next start layering on the paper. First paint on a layer of the gloss mod podge and lay the paper over the top, making sure to get all of the bubbles out.
Now take a pair of scissors and scrape around all of the edges to help fit the paper more exactly to the hook. If the paper tears a little bit, don't worry about it, it will look good. Make sure that you poke out the holes for the screws too.
Now I took my distress ink (I absolutely HEART this stuff and went and bought some in every color available!!) in "walnut stain", rubbed a paper towel on it, and rubbed around all edges of the hooks and hinges.
And cover the entire thing in a good coat of the mod podge.
Let them sit until dry, and then screw them into your wall and hang your beautiful jewels on them to display.
So hello, my name is Sammy... and I'm recovering :D, well, at least my dresser is...

Tuesday, March 2, 2010
Cookie Dough Pie
Congratulations to Kierstin for winning the giveaway and thanks to everyone who supported us with it. We will hope to do another one soon!!
In honor of our apron winner today we will be sharing an awesome treat. This recipe is sooo easy and delicious. There is no real cookie dough in it but it tastes just like it. Please to enjoy!!
Cookie Dough Pie
Ingredients:
1 package Chips Ahoy (the original kind- not chewy)
1 tub of cool whip
hershey's chocolate syrup
vanilla ice cream (softened)
cup of milk
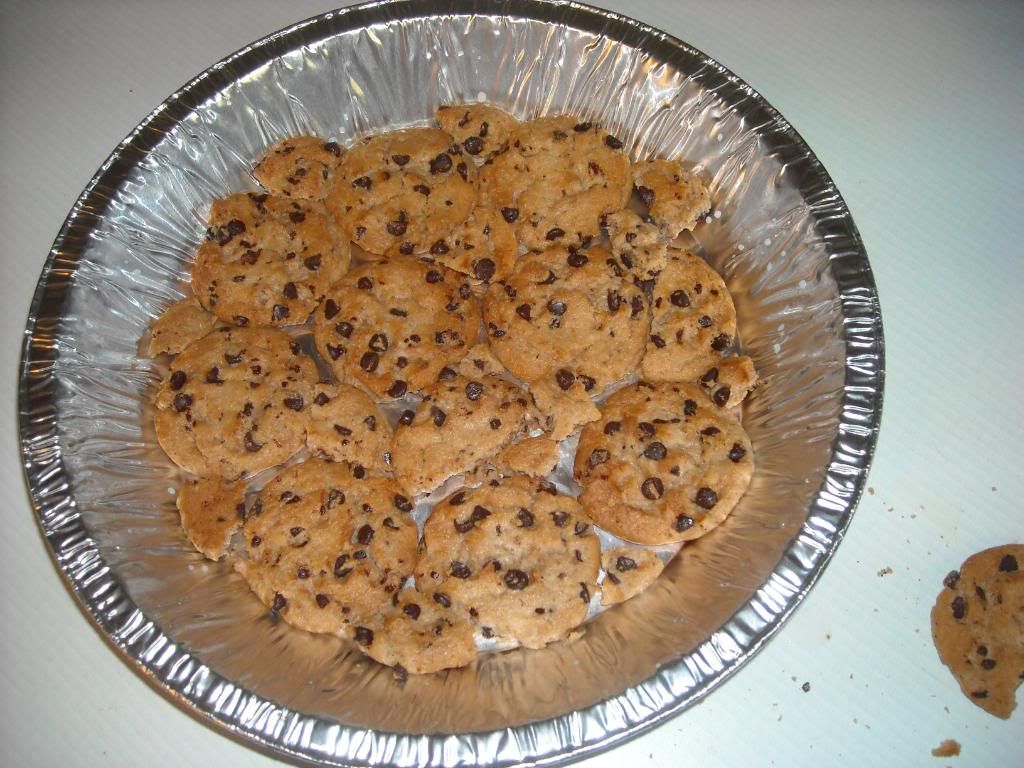
First thing you do is dunk your chips ahoy in the milk and layer them on the bottom of your pie pan. Lay down full cookies first, then break smaller chunks and dunk them in the milk to fill in the gaps.
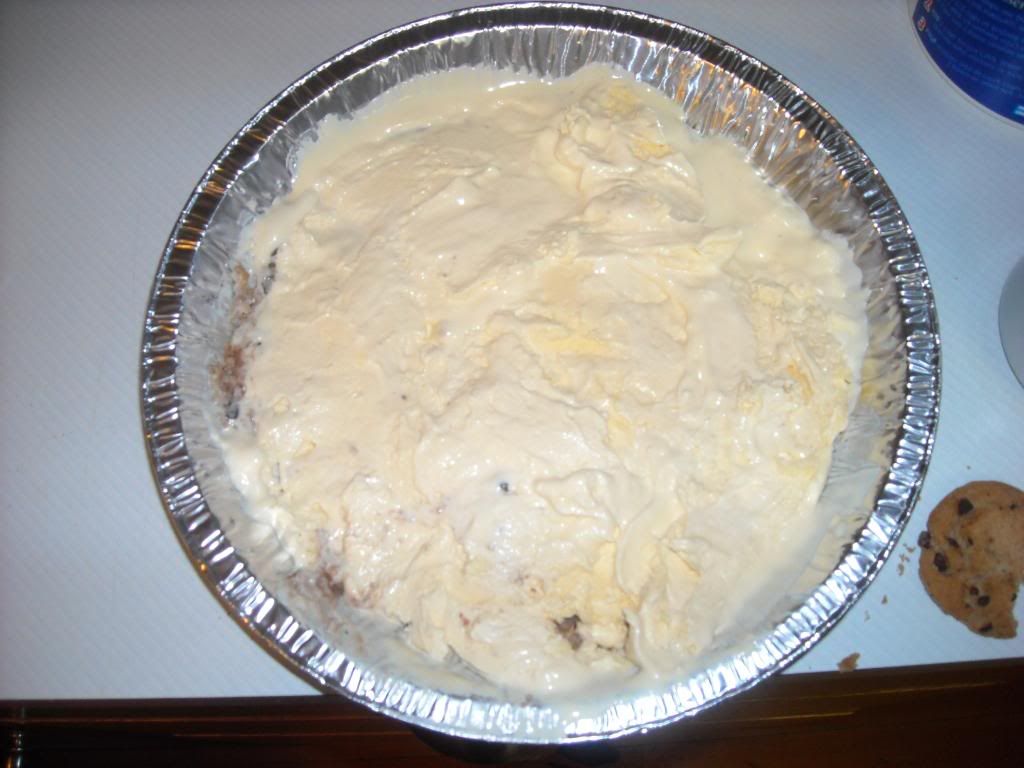
Next layer you want to spread on about an inch thick of vanilla ice cream
Now layer another layer of chocolate chip cookies the same way as the first layer. This would also be fabulous with 2 layers of these cookies right in a row. Don't forget to dunk them in the milk first!
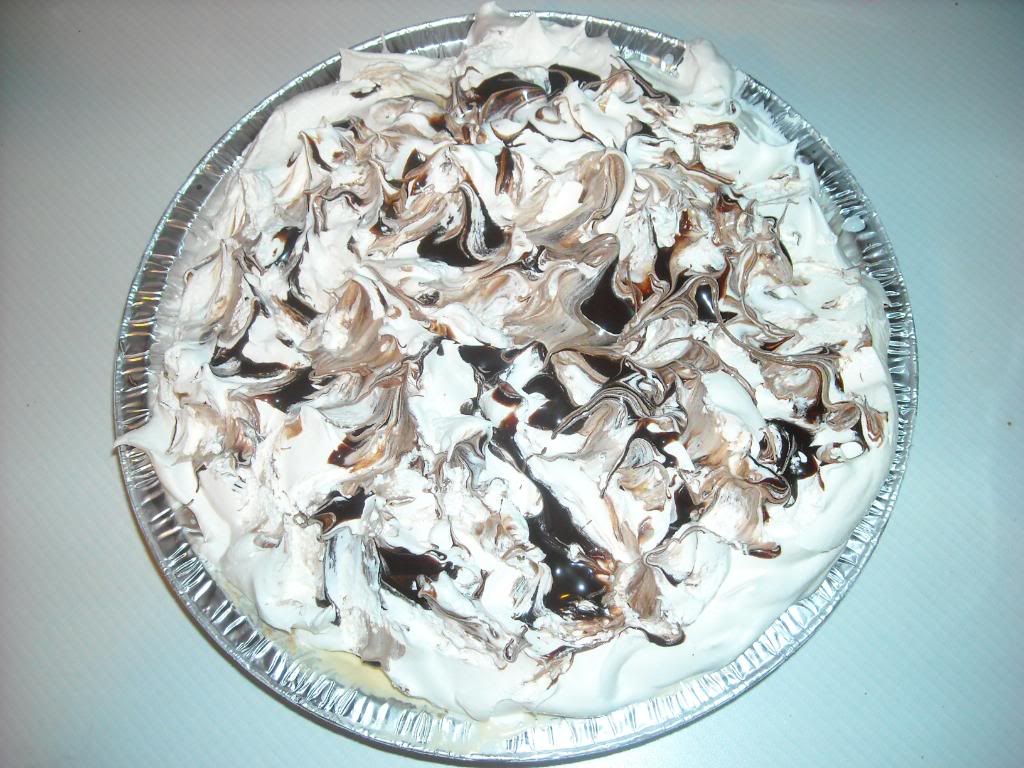
Now to finish it off, layer on a ton of whipped cream then drizzle chocolate syrup on top. Use a rubber spatula and set it on the whipped cream and pull staight up to create peaks and make the pie look extremely delicious :D
Now eat it up as quickly as you possibly can, or if you are on a diet like I am, take it over to a neighbor so that they can enjoy all of that fabulosity while you
Wednesday, February 3, 2010
Teething Cuddler
Don't you just love those little tag Cuddlers? Me too, but they are so expensive! So I decided to make my own but to put my own spin on them and add some teething toys on! These are super easy and take less than an hour.
Materials needed:
2 14X14 squares in 2 different textured fabrics. (I used a furry fleece and a long john material)
16 peices of 5 inch ribbon
3 teethers
thread
sewing machine
First you want to just cut all of your ribbon and your fabric to size.
Now take your zig-zag stitch and go all around the outside. We will go over the ribbons multiple times to ensure that they don't come off in your little one's mouth!
Flip the toy right side out.
And once again sew around the edges of the entire toy to close hole and to get one more stitch through the ribbons.
And now give it to your little lamb so he can slobber all over and LOVE it!!
Materials needed:
2 14X14 squares in 2 different textured fabrics. (I used a furry fleece and a long john material)
16 peices of 5 inch ribbon
3 teethers
thread
sewing machine
First you want to just cut all of your ribbon and your fabric to size.
Next take one fabric square and pin the ribbons around the outside, toward the middle, 4 on each side. Make sure to attach the teethers onto the ribbons now. Also make sure that you sew them to the front of the fabric, not the back.
Now take your other square and pin it on top of the ribbon square, wrong sides together. Make sure all ribbons and toys are tucked inside.
Now use a straight stitch and sew around the outside edges. Make sure to leave a hole big enough to fit the toys through!!Flip the toy right side out.
And once again sew around the edges of the entire toy to close hole and to get one more stitch through the ribbons.
And now give it to your little lamb so he can slobber all over and LOVE it!!
Saturday, January 30, 2010
New blog!!
Hello everyone! I have super exciting news! My sister-in-law Ruth and I have started a new crafting blog at http://scrapsnstrings.blogspot.com and we will be showing off how to do some super cute crafts that anyone can do! I just did a car seat tent and posted it and if any of you have little lambs I think you will like it and it was so easy! So if you guys could go take a look and tell us what you think that would be awesome. If you like it grab a button and tell your friends. We would really appreciate it! Thanks guys!
Saturday, December 19, 2009
Aprons!!
Just a couple o' quick picks of the aprons that I've been working on! I'm so in love with them. I've sold all of these so far but if anyone is interested we will be making and selling more come the new year. Happy Holidays!!
Sorry these pictures are all over the place. Still trying to figure out this new formatting thing they have...
P.S. Carson just had his 2nd birthday so we will be posting on that soon!
Sorry these pictures are all over the place. Still trying to figure out this new formatting thing they have...
P.S. Carson just had his 2nd birthday so we will be posting on that soon!
Subscribe to:
Posts (Atom)